Verified
Verified
Verified
Verified
Verified
Verified
Verified
Verified
Verified
Verified
Verified
Verified
Verified
Verified
Verified
Verified
Verified
Verified
Verified
Related Products
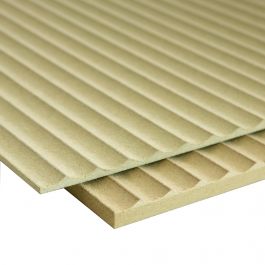
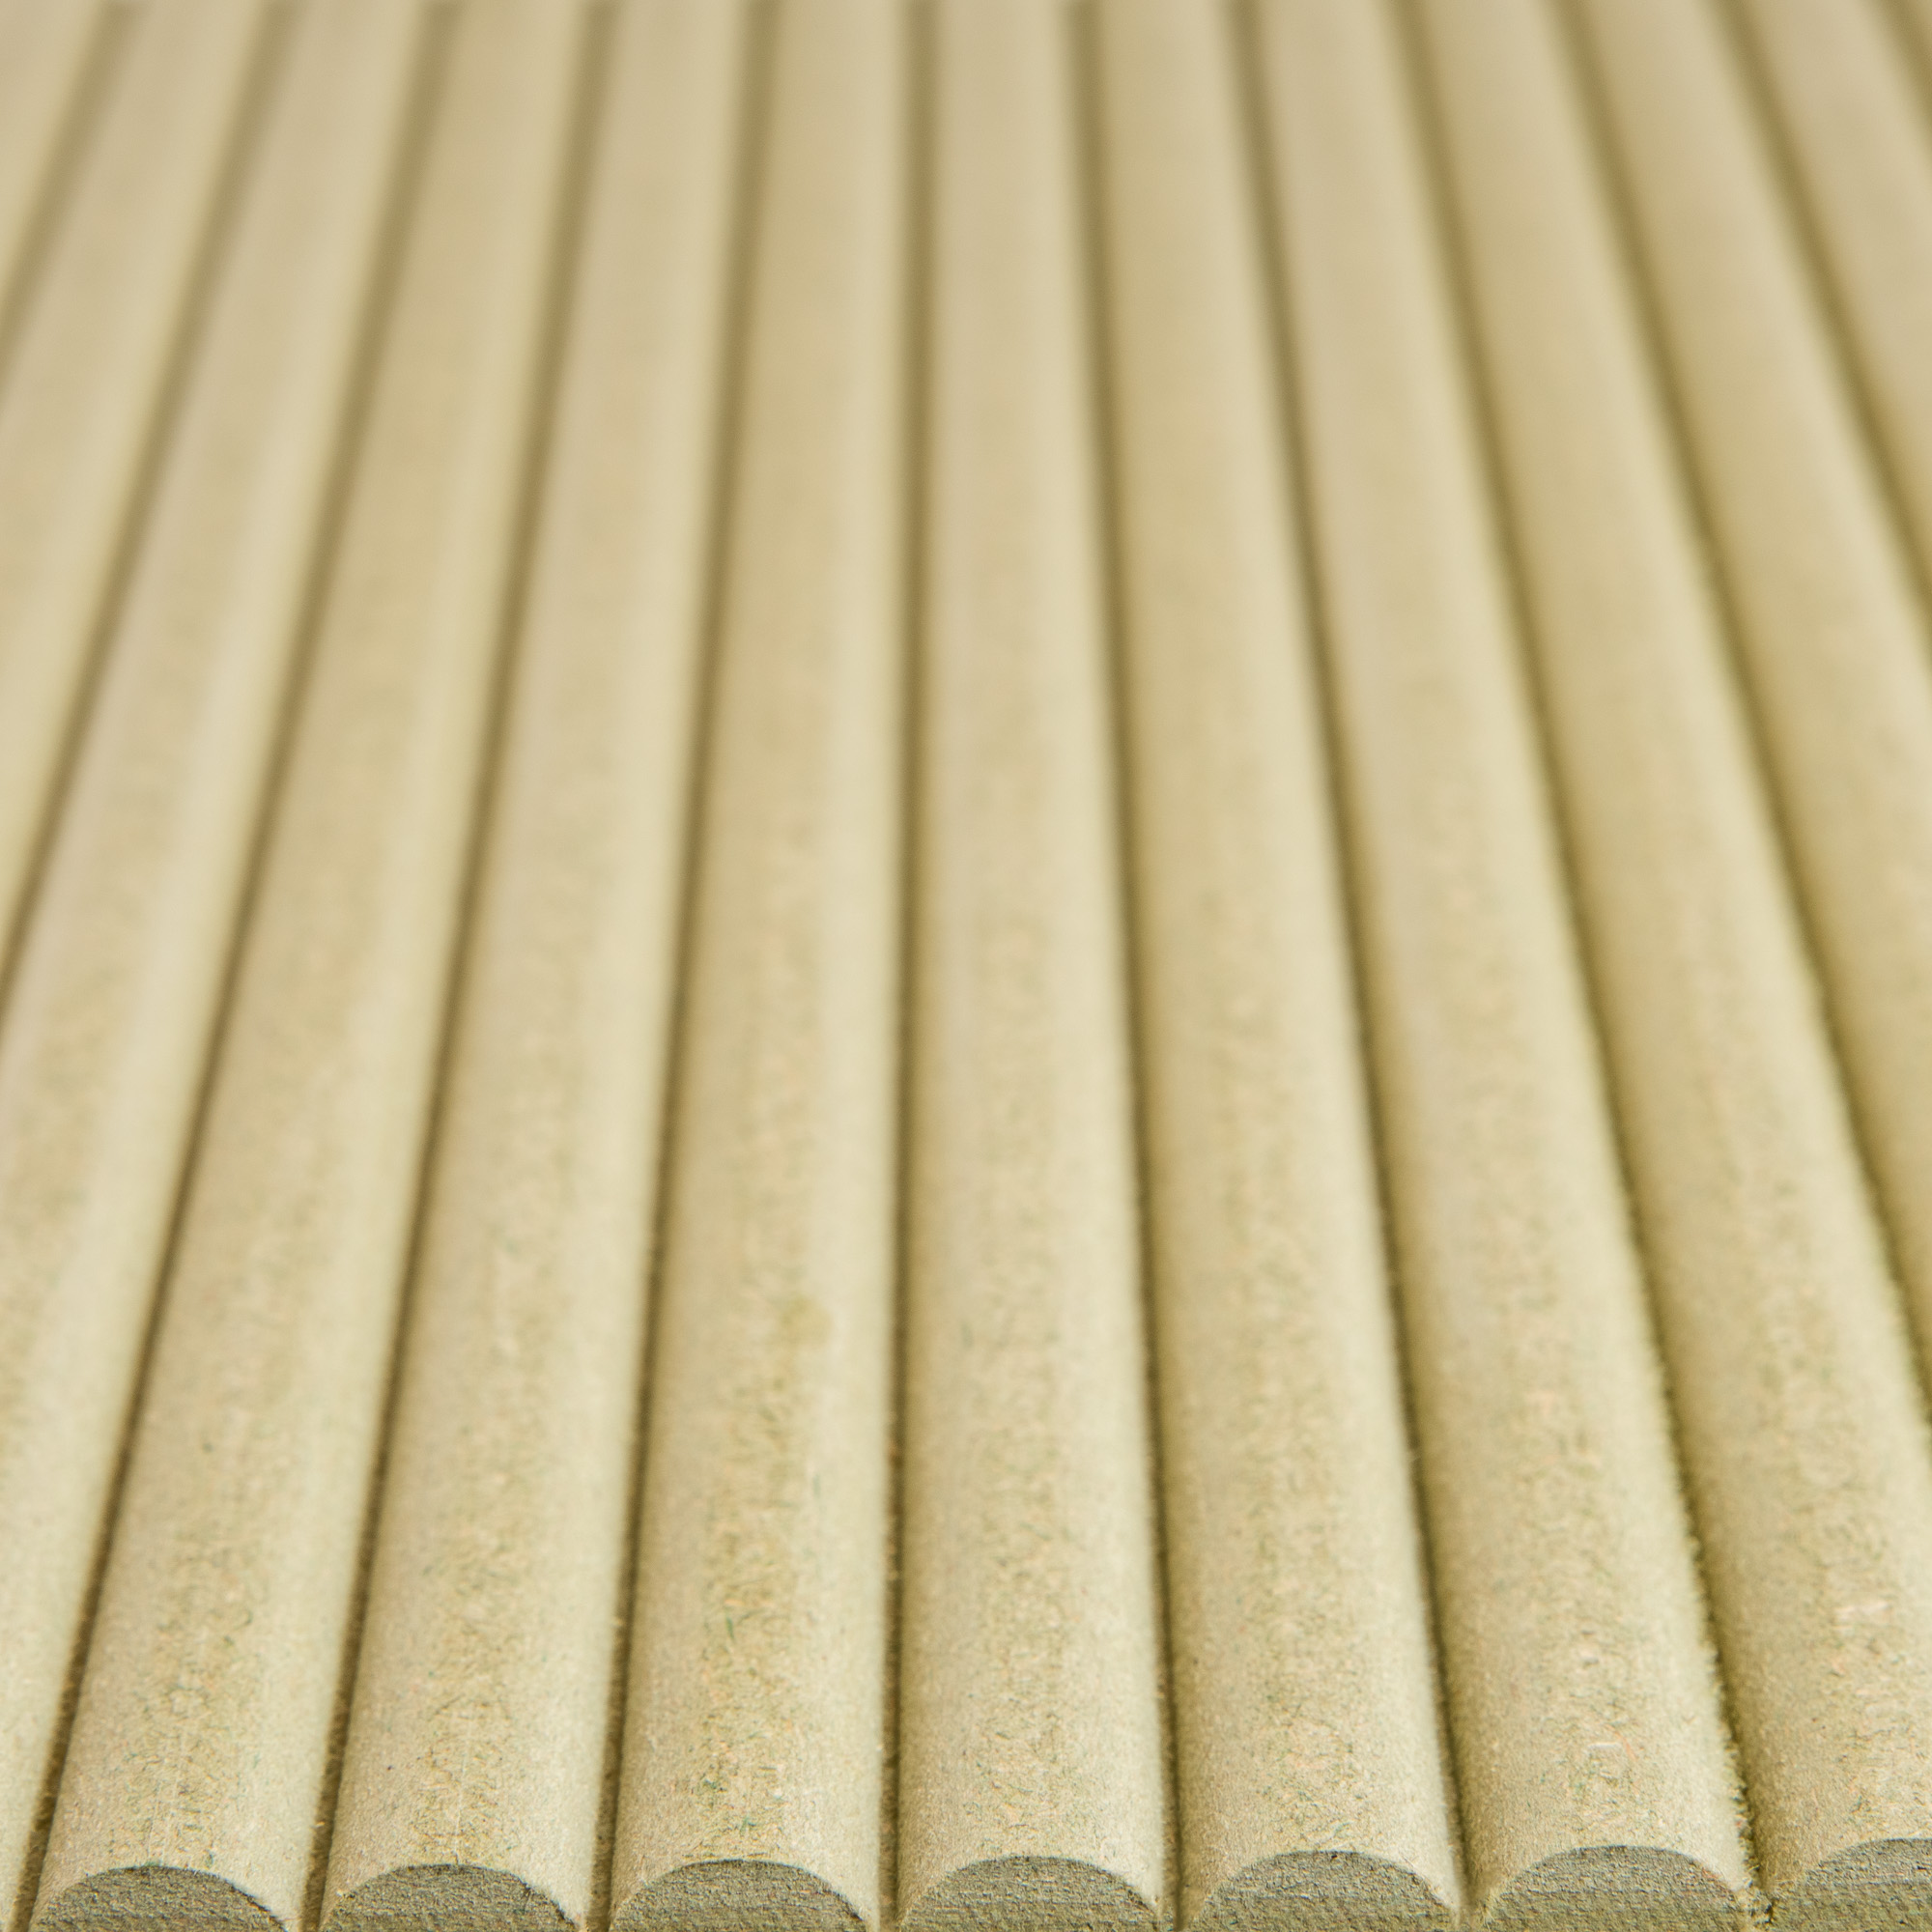
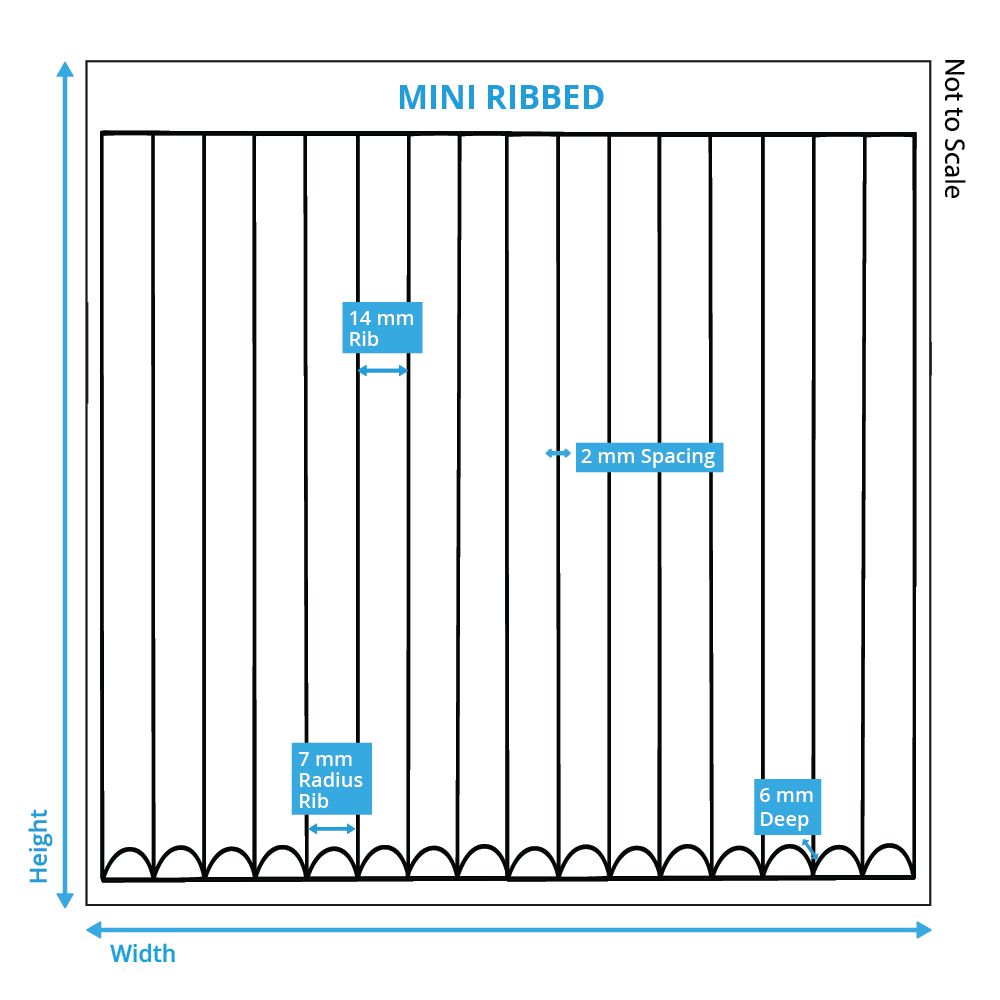
3D Ribbed Panelling - Mini
Our mini ribbed panelling is a perfect choice for enhancing your interior space. With its stylish design and captivating depth, this decorative panelling adds a touch of sophistication to any environment. We cut long and narrow ribs into a board of MDF which has been cut to size to fit your dimensions. These raised ribs, at 7mm width, create a visually dynamic appearance which is ideal for contemporary aesthetics.
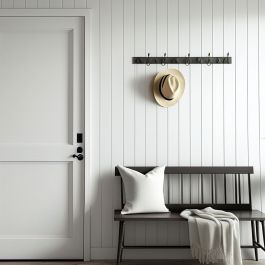
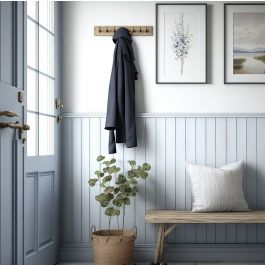
Ribbed panelling has the ability to create depth and dimension to space, so it is a great choice for rooms where you would like to create a cosy feel such as in a living room, home cinema or a bar setting. The ribbed design minimises light reflection, ensuring an immersive cinema experience with controlled light and reduced glare. The interplay of light and shadow adds intrigue and sophistication, making your walls or cladding visually captivating.
Not only is our ribbed panelling visually stunning, but it's also highly durable and easy to maintain. Crafted from resilient materials, it withstands regular wear and tear while retaining its aesthetic appeal. Choose from Finsa fibracolour-coloured MDF in six different colours which you can install straight onto your walls and save you time and money in priming and painting, or you can choose moisture-resistant MDF which is a slightly cheaper option and is ideal for areas with high humidity and can be easily painted a colour of your choice.
All Ribbed Wall Panel Colour Options
Black
Anthracite
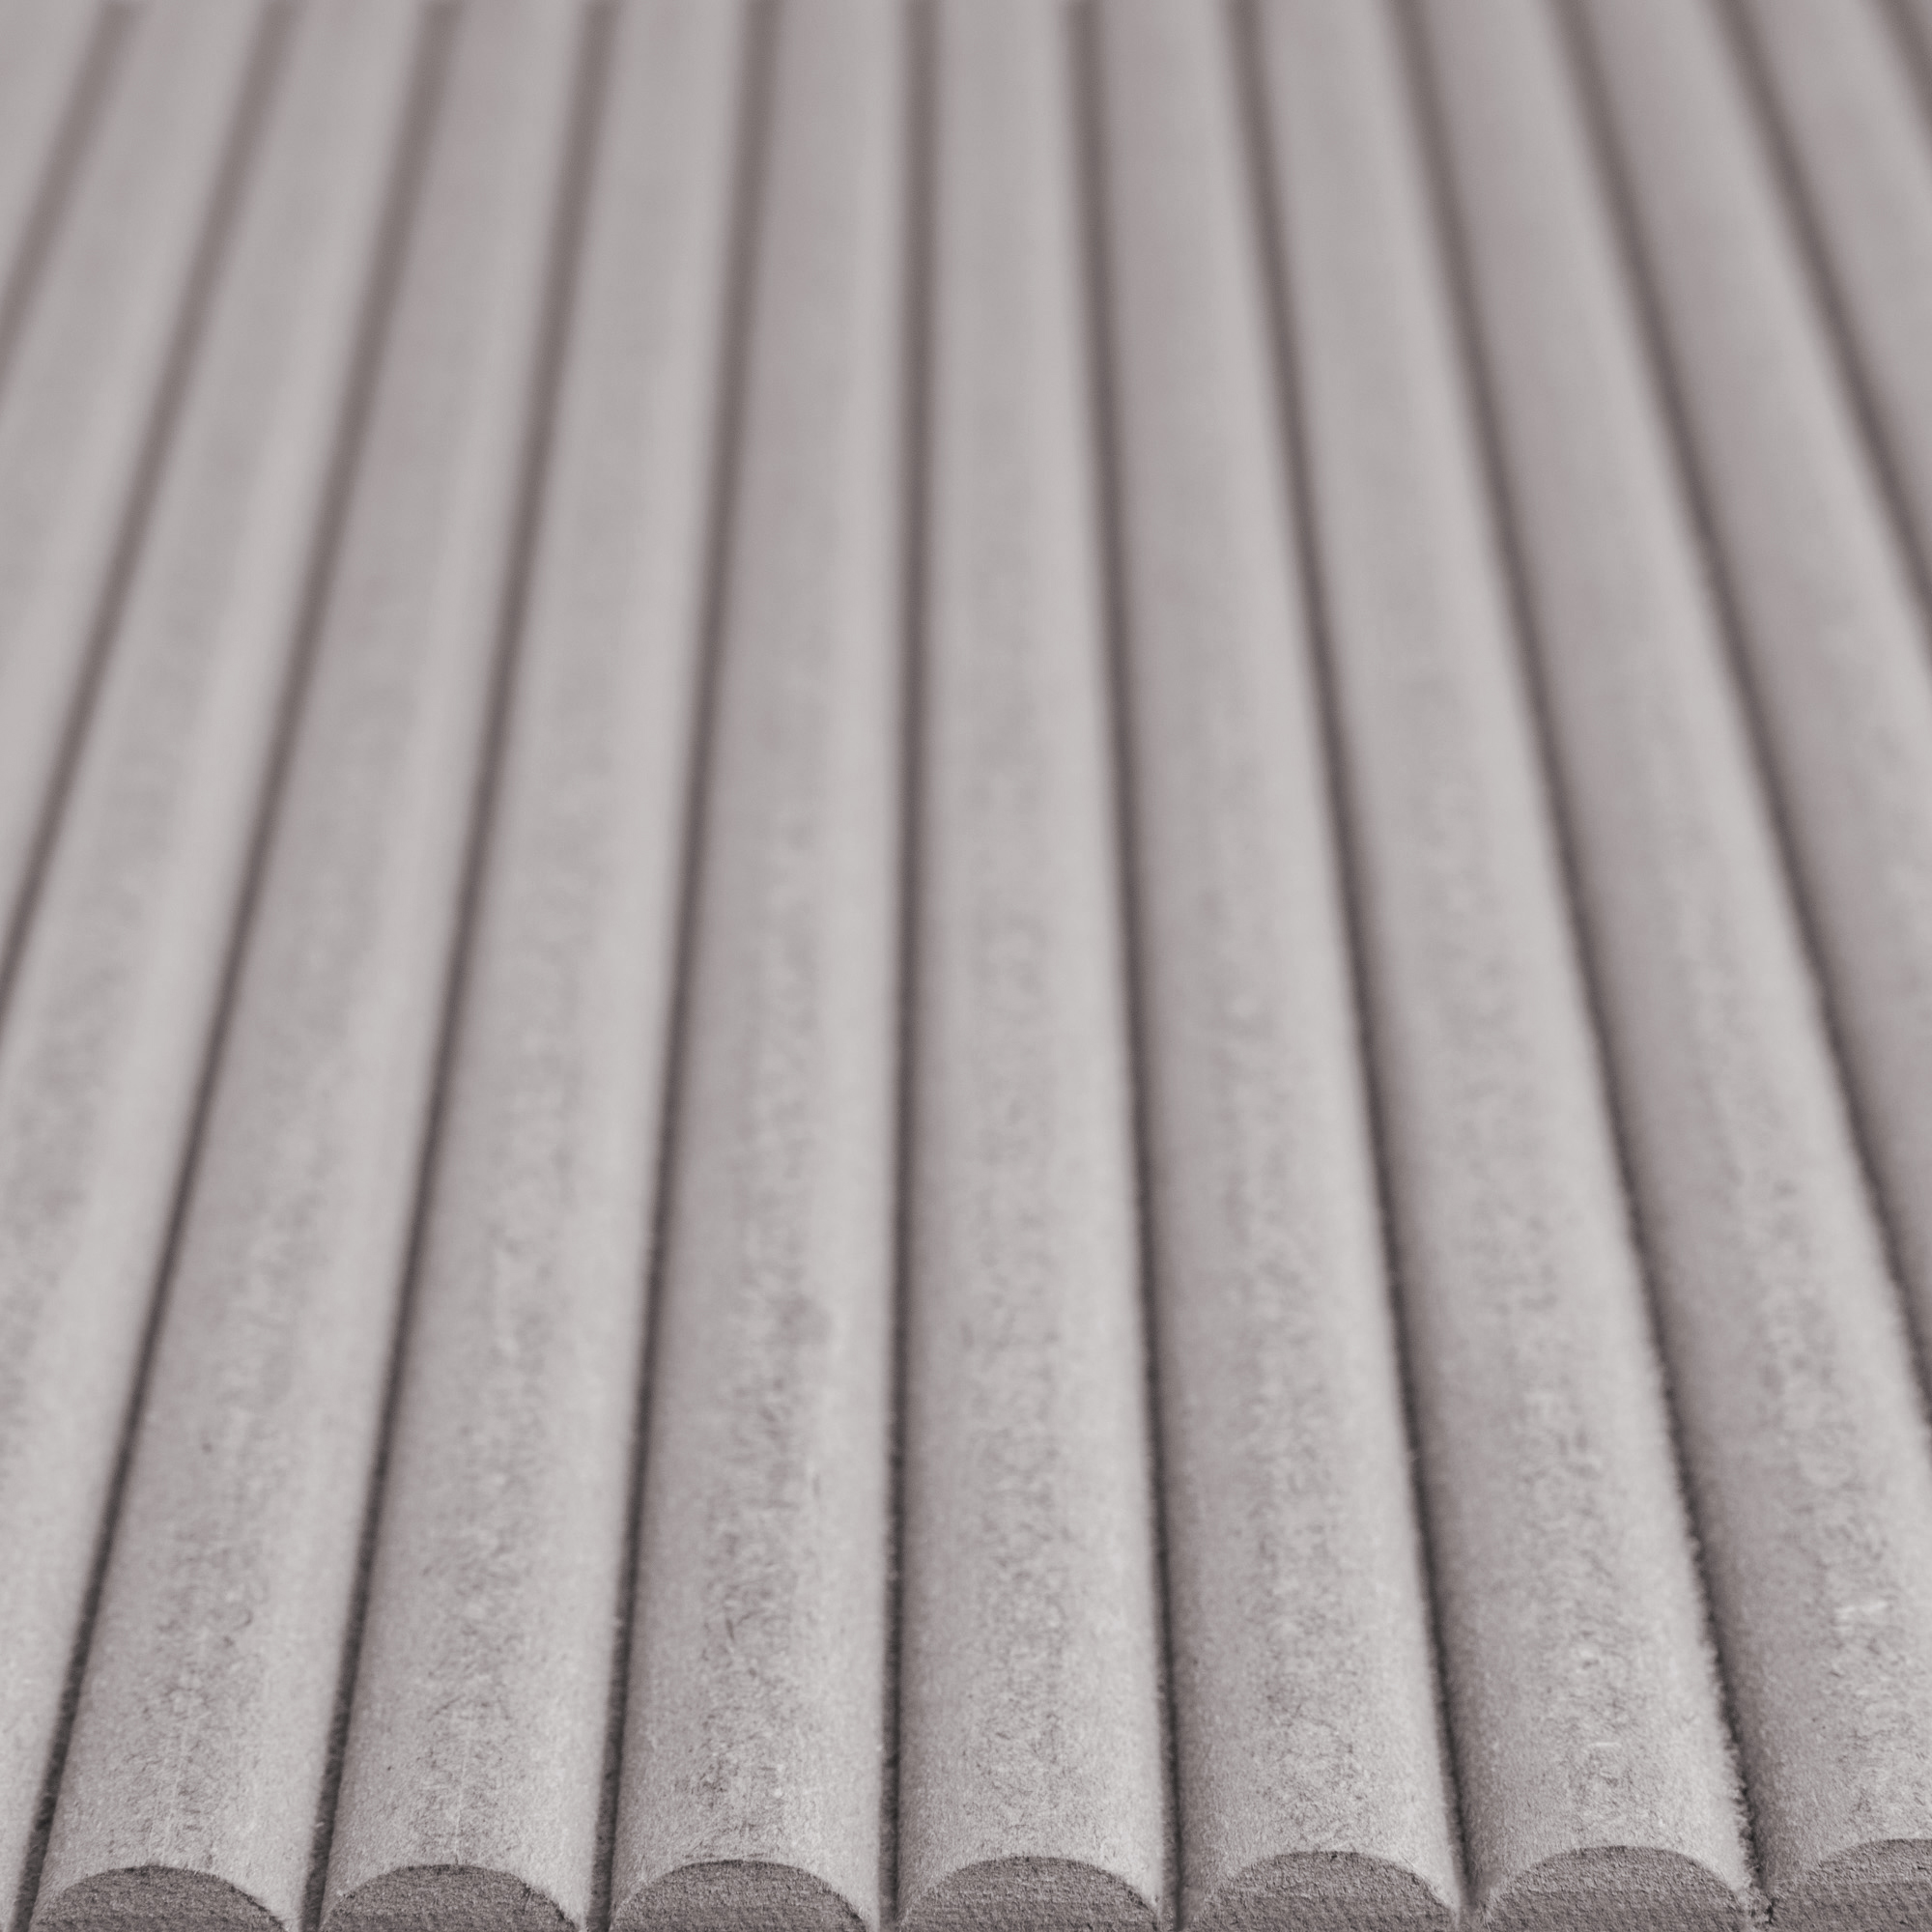
Light Grey
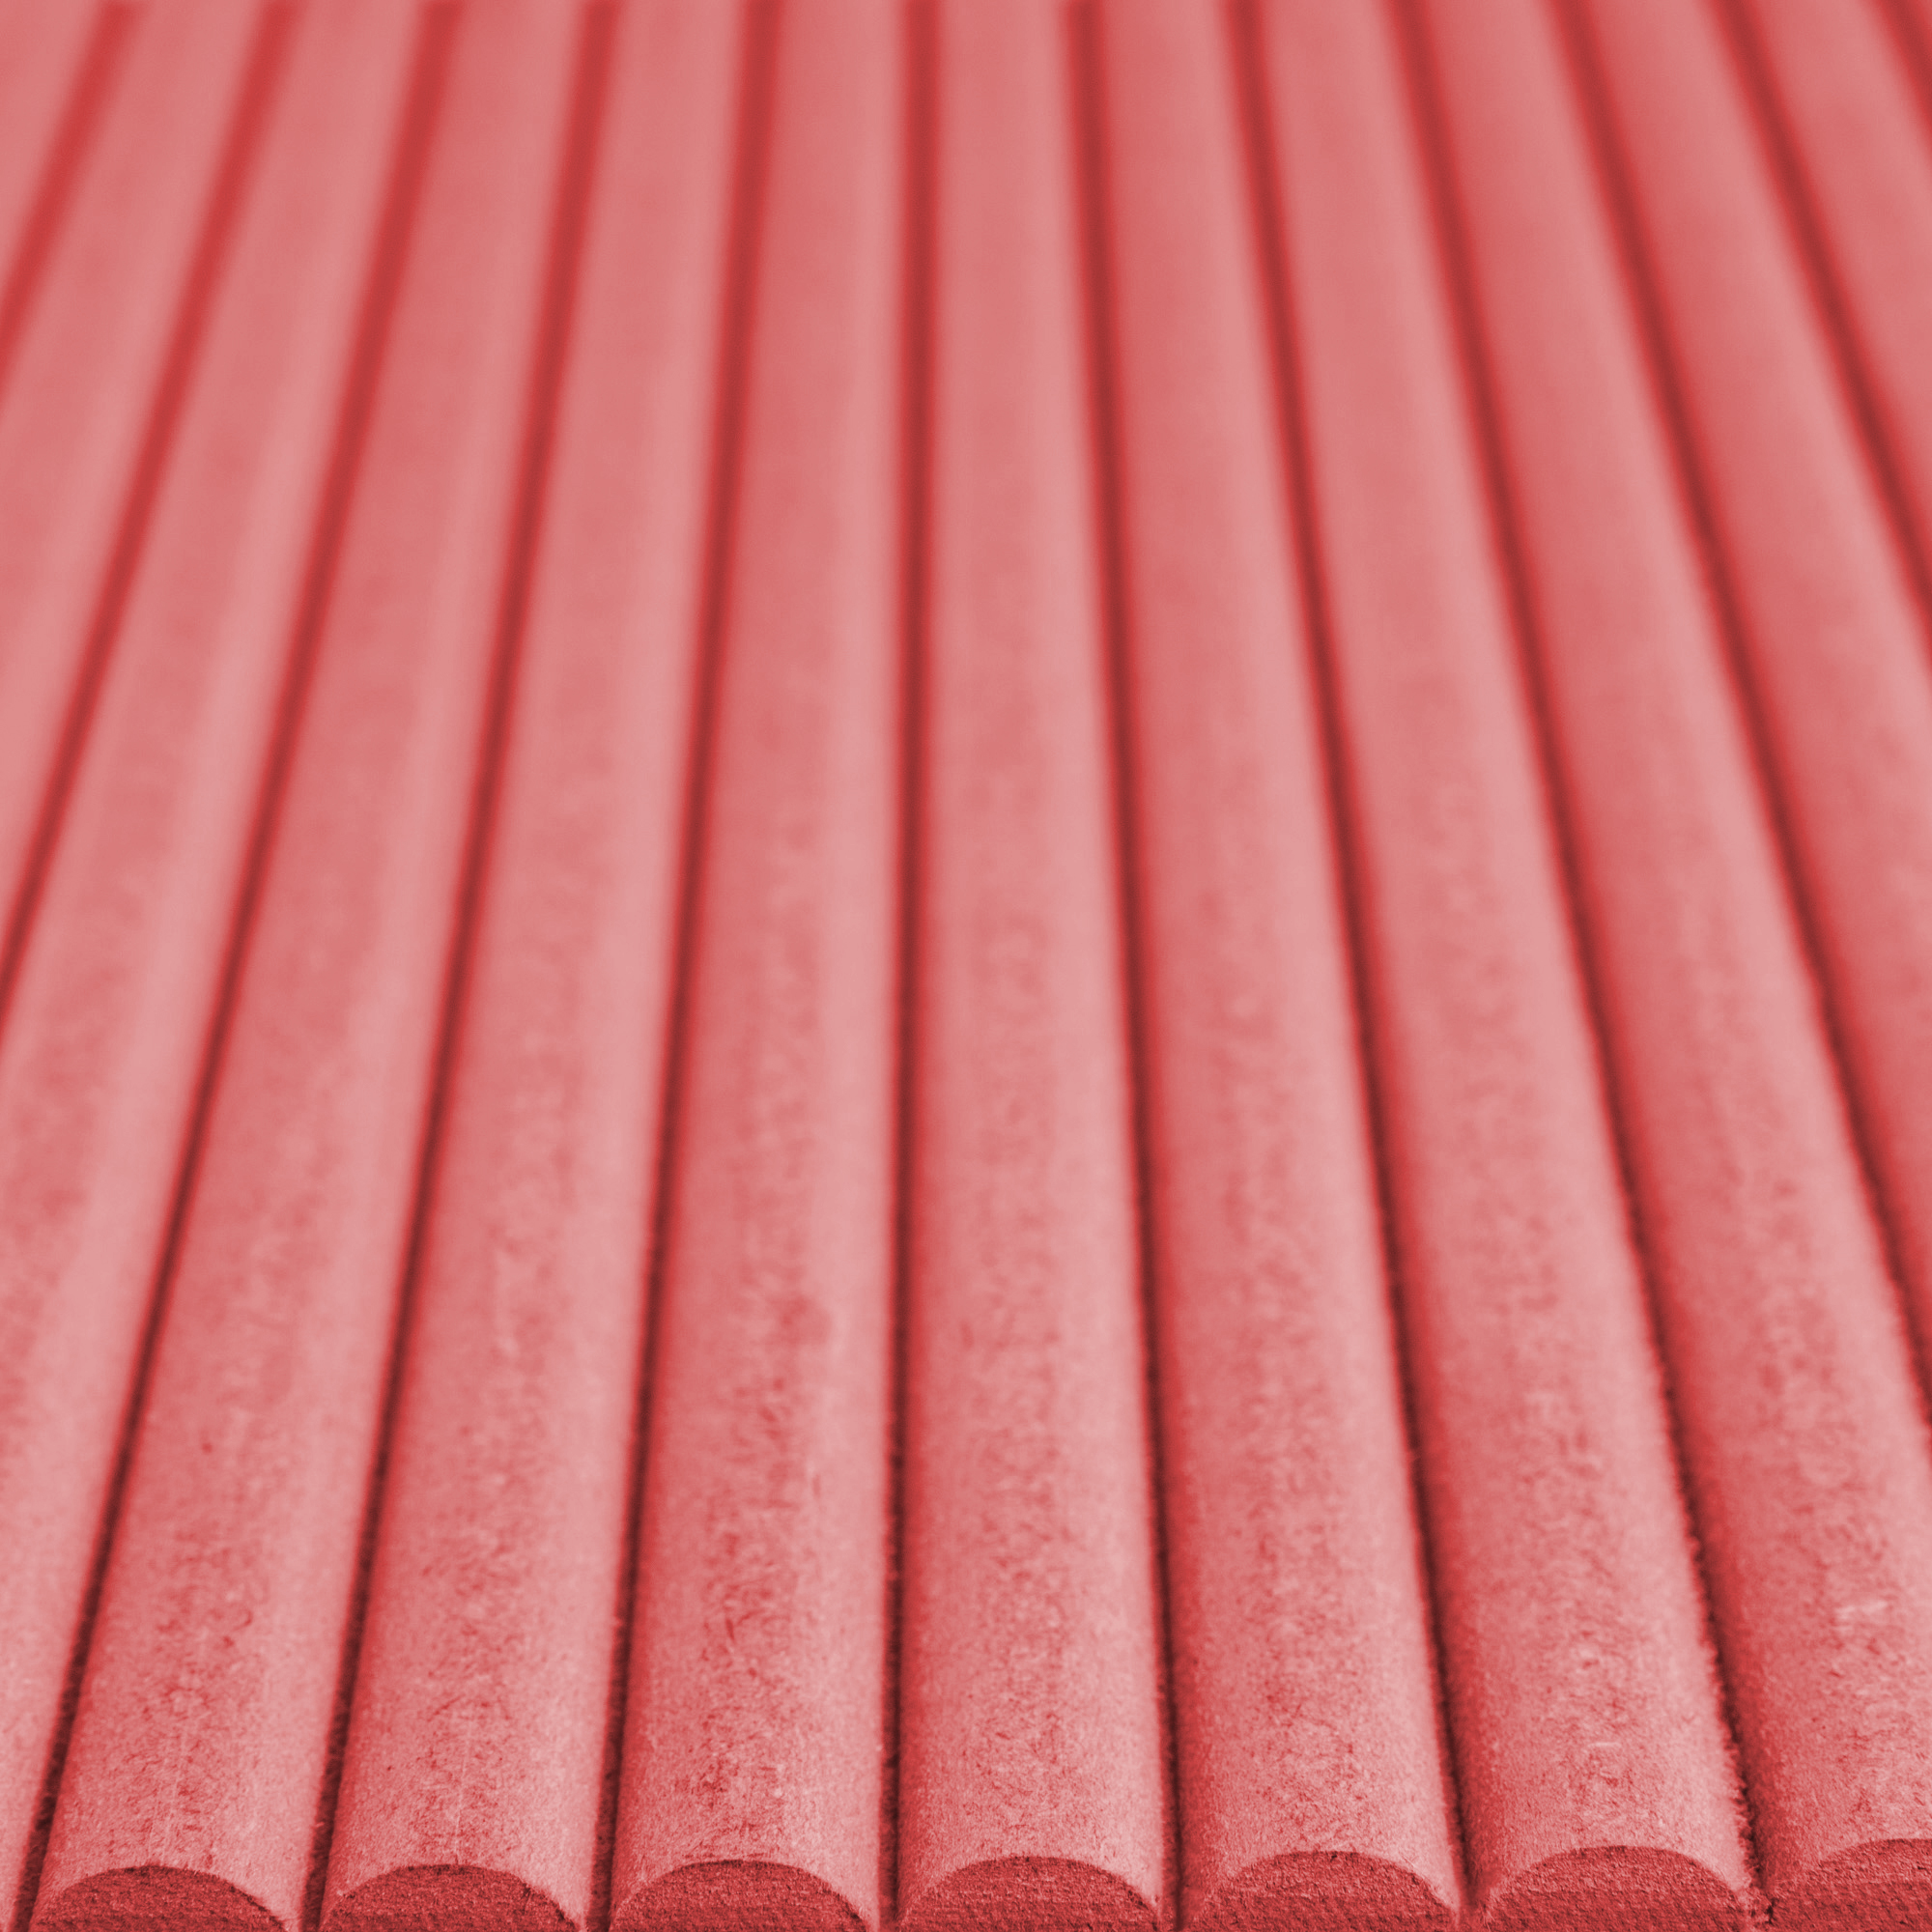
Red
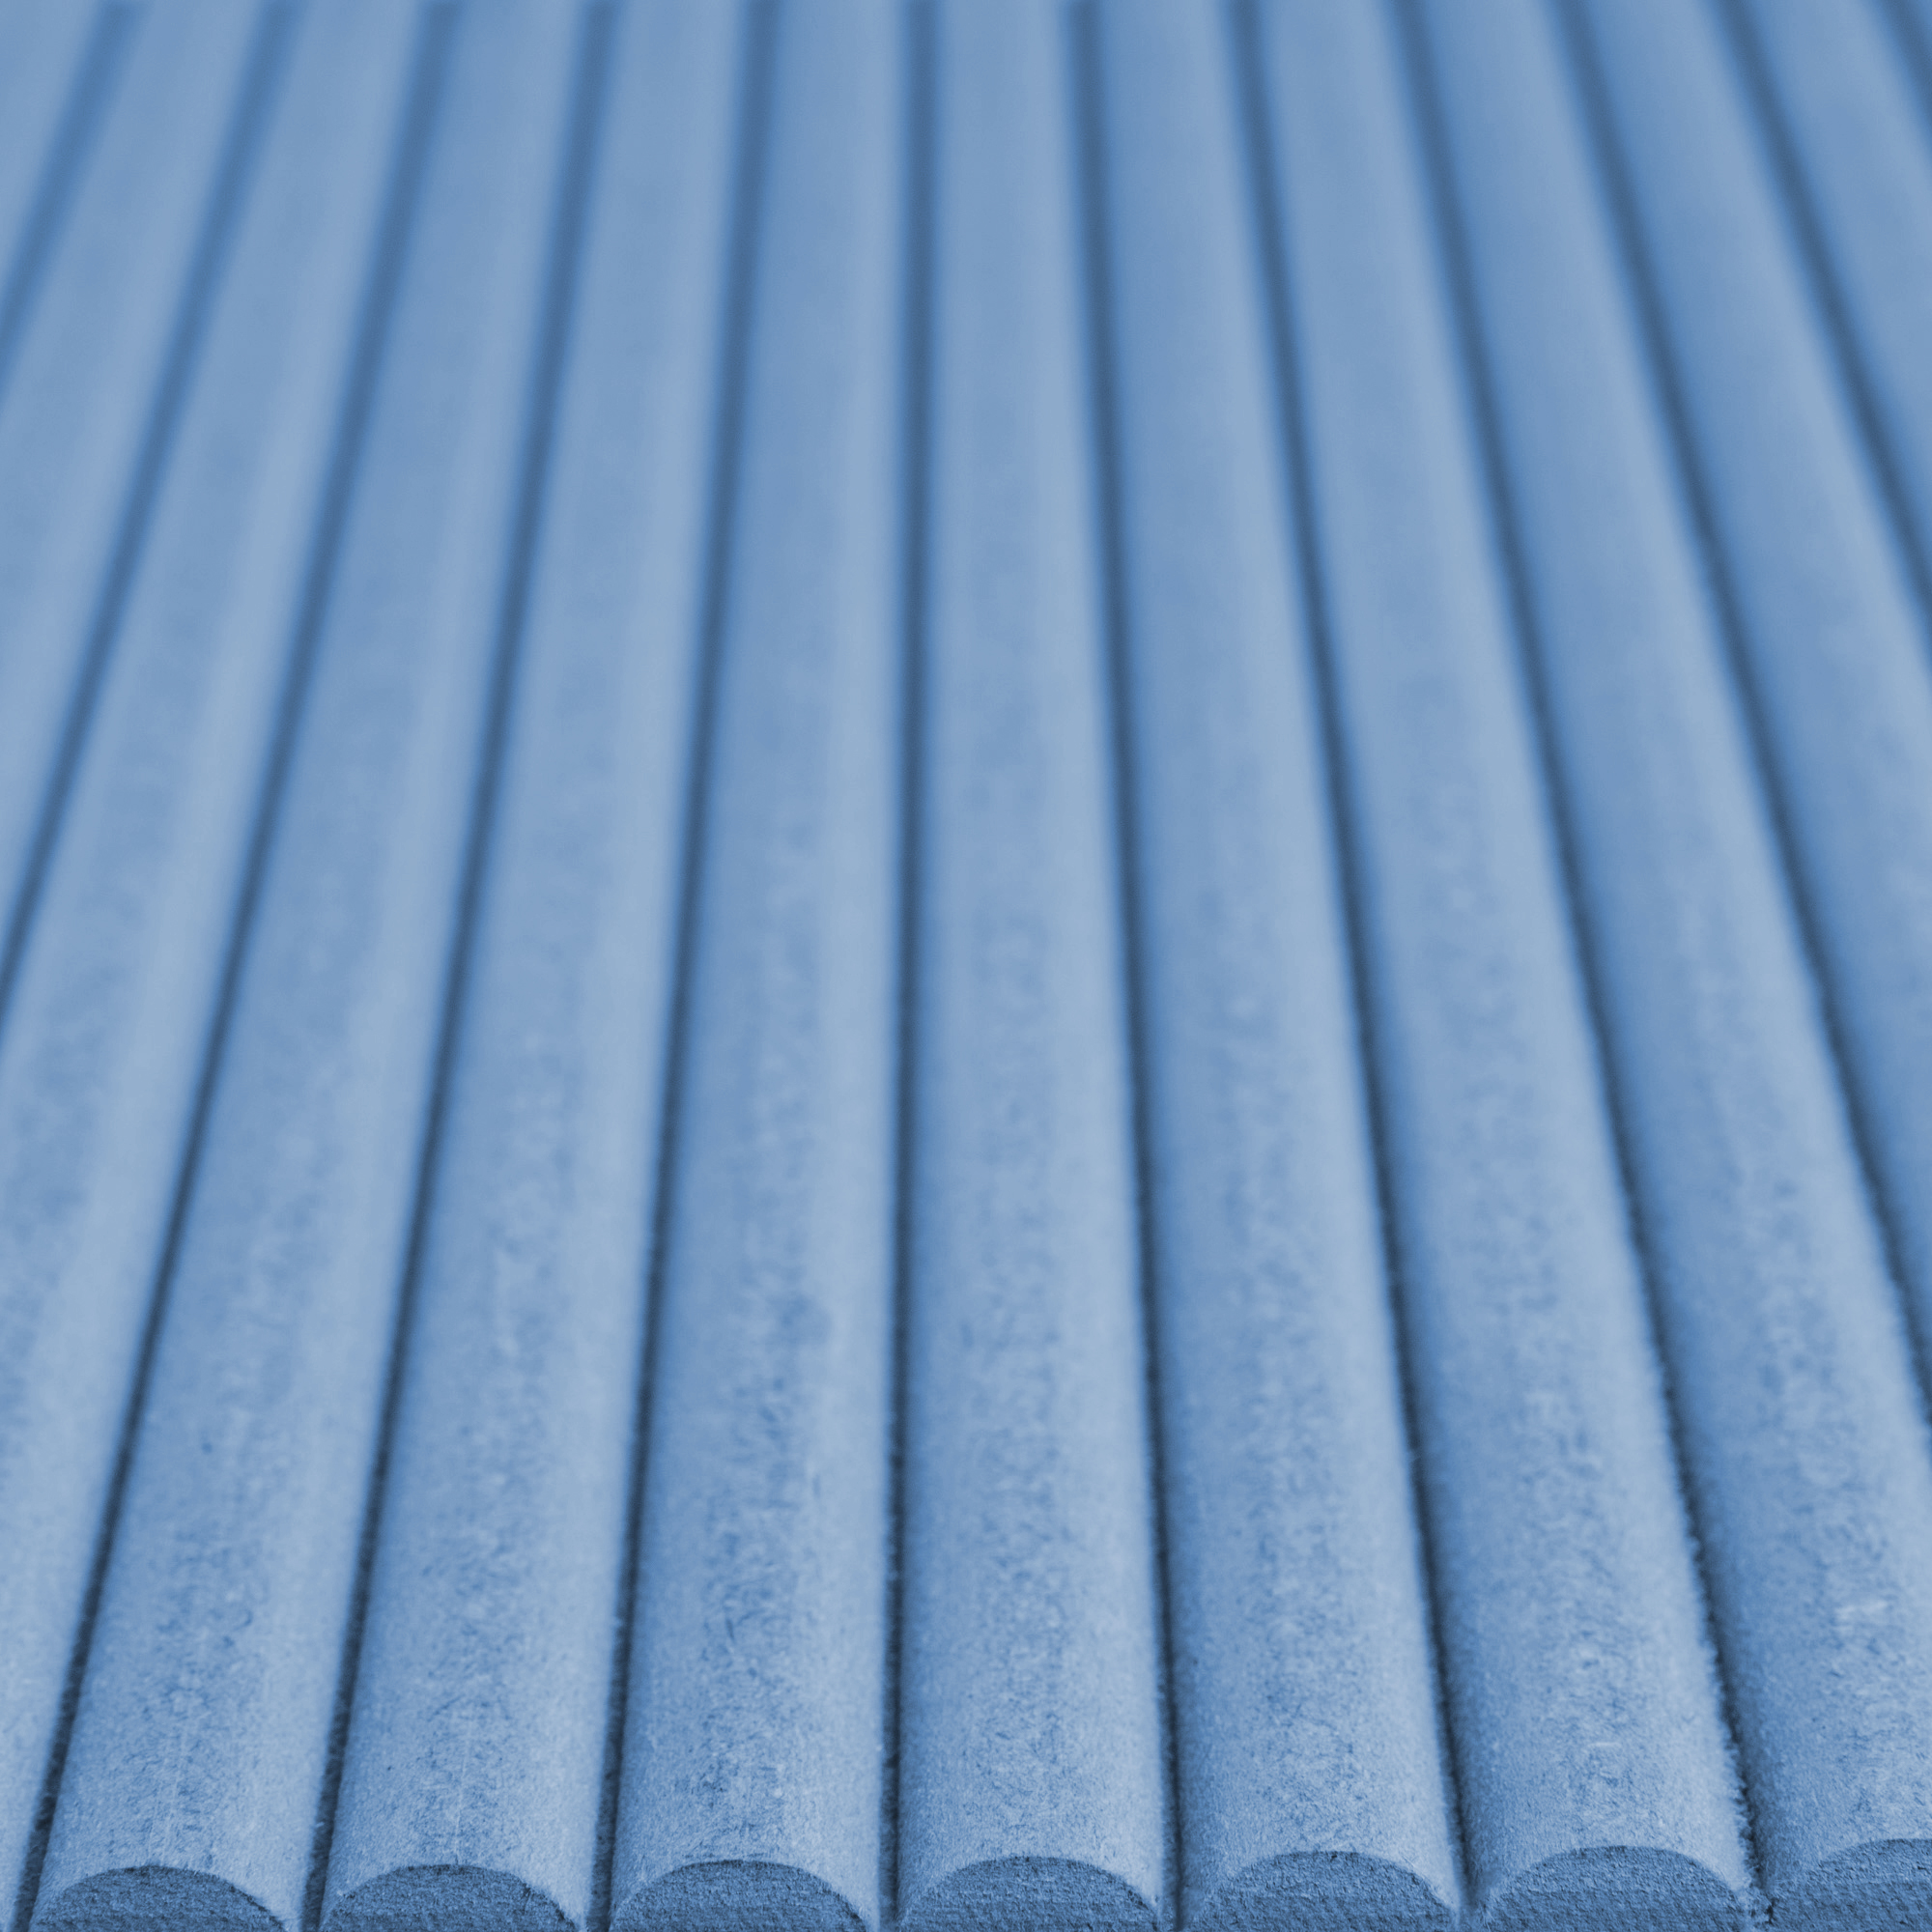
Blue
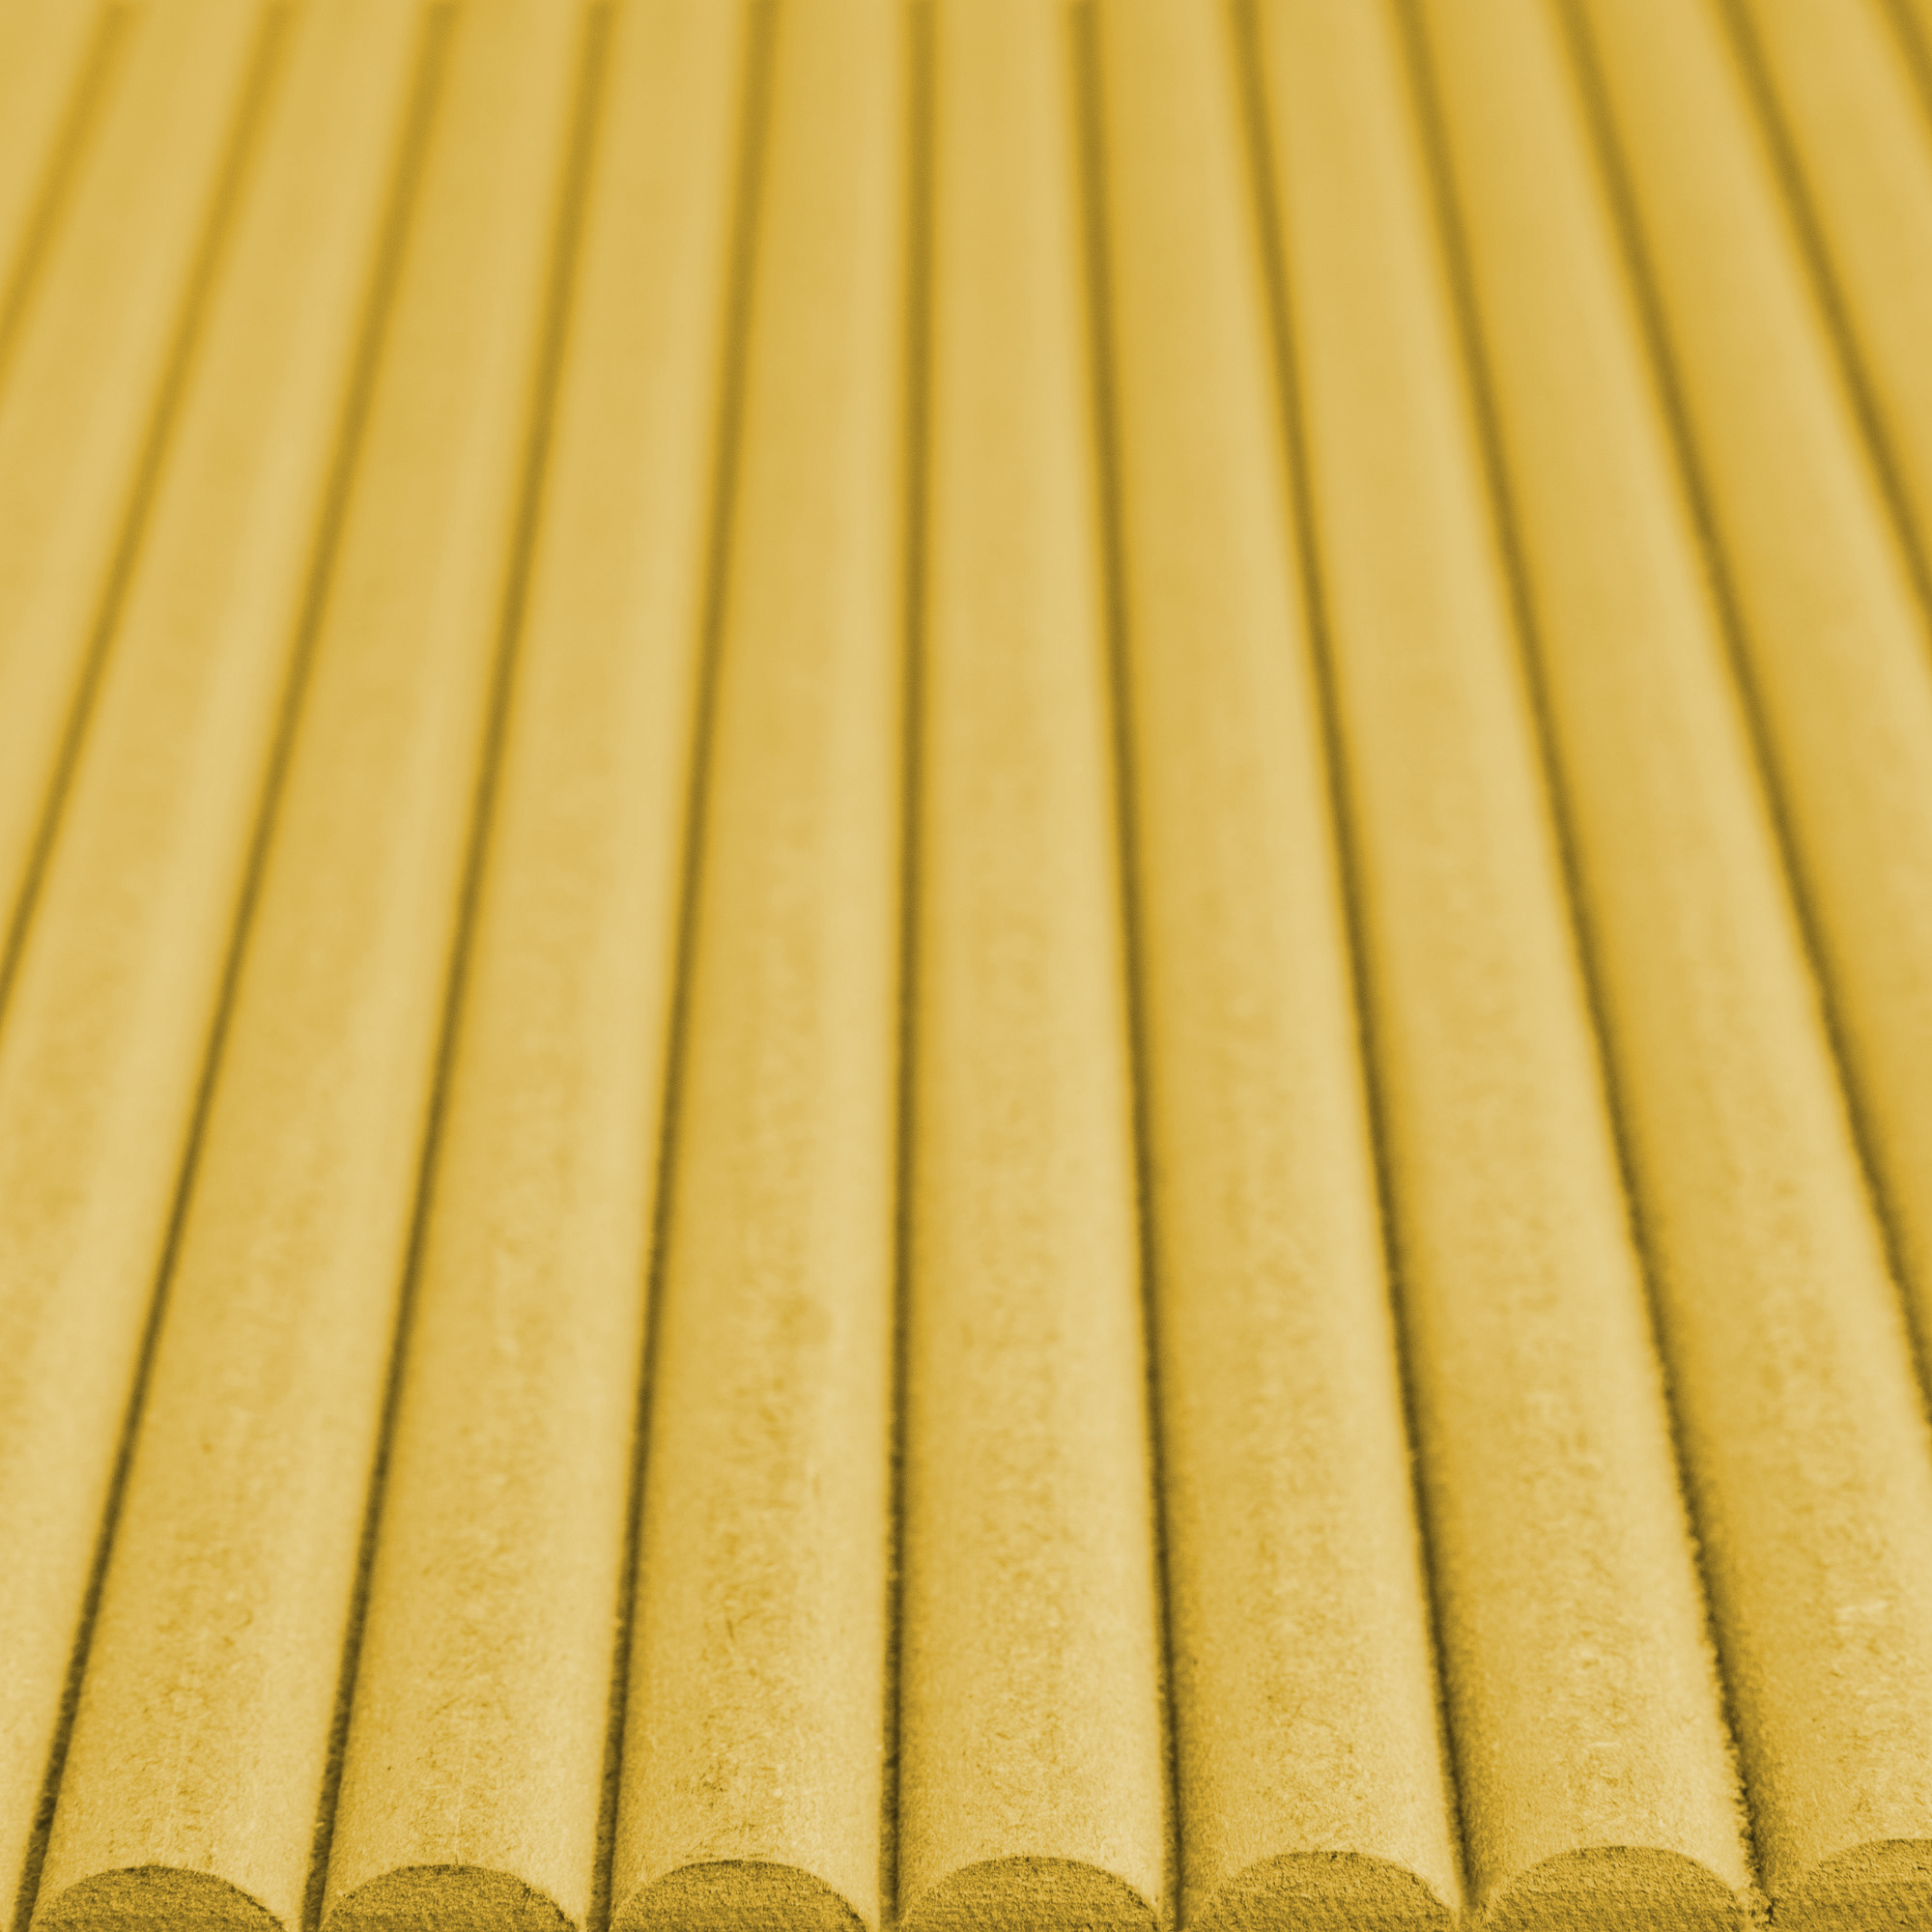
Yellow
Paintable
Moisture Resistant MDF is a great option if you would like to paint your panelling any colour that you wish as it absorbs paint nicely. It is also ideal for rooms such as kitchens and bathrooms which have high humidity.
Sustainability
Our Ribbed 3D panelling is made with premium high-quality FINSA MDF or Moisture Resistant MDF. FINSA is a leading company known for its sustainability efforts and commitment to environmental stewardship. With over 80 years of experience in the wood industry, FINSA has positioned itself as a responsible and environmentally conscious business. They are deeply committed to responsible forest management and actively promote sustainable practices in the wood industry, ensuring that the raw materials they use come from responsibly managed forests. FINSA collaborates with forestry certification programs like the Forest Stewardship Council (FSC) and the Programme for the Endorsement of Forest Certification (PEFC) to ensure the traceability and legality of their wood supply.
Installing Mini Ribbed Panelling
It couldn't be simpler to install your Ribbed panelling. Everything is cut to size for you so all you have to do is apply adhesive and stick to the wall. Here are some simple steps for installation, however, your order will come with a more detailed physical instruction manual to help you out!
If you have a large space to panel, you may have received multiple panels to fit together. You can lay them out on the floor to familiarise yourself with how they will be arranged on the wall.
Step 1: Prep your space
Please ensure your space has a clean, smooth, flat wall before applying your fluted or ribbed wall panels. Put your Dust Sheets on the floor beneath the wall you are panelling to protect your flooring.
Step 2: Sand
Using sandpaper, sand your panelling to remove any fuzziness from the grooves of your panelling. This is especially necessary for paintable ribbed or fluted panelling to ensure a smooth finish ready for painting.
Step 3: Adhere to wall
With your caulking gun, apply a snaking line of adhesive to the back of the panel and adhere it to the wall. Make sure to use a spirit level to ensure that it is straight. Then apply pressure as you push the panel board firmly to the wall.
Step 4: Repeat
Repeat steps 2 and 3 if you have multiple panels until all of your panelling is on the wall.
Step 5: Caulk
You can then use Caulk along the edges of your panels to fill any gaps. If your wall is not completely straight, you may find that your panelling seems to come away from the wall slightly, so caulk can act as a paintable filler. Use a filling knife to smooth the caulk out and wait for it all to dry.
Step 6: Prime (if necessary)
If you are using our Finsa-coloured MDF, please skip to step 8.
Using a primer and a paintbrush, prime your panelling and then wait for it to dry.
Step 7: Paint (if necessary)
If you are using our Finsa-coloured MDF, please skip to step 8.
Paint your fluted or ribbed panelling in a colour of your choice.
Step 8: Enjoy!
Once everything is dry. You are free to clean up and enjoy your new panelling!
Delivery depends on the size of your order
Reviews
Trustpilot
