

Trustpilot


Christmas Sale - 5% OFF orders £50+ with XMAS24 | View Christmas Opening Times
3D panelling has quickly become a popular design trend in both home design and business projects. At Cut My, we specialise in delivering cut to size panelling that will add a touch of luxury to your space. Simply enter your dimensions and customisations and receive an instant quote for your panelling! Read More


Trustpilot


Transform your home or business with our decorative 3D panelling kits! Explore our wide range of options and let your inner interior designer take over. Simply enter your dimensions and choose your customisations and we will deliver your panelling cut to your exact requirements. All you then need to do is stick it to the wall!
3D Panelling has emerged as one of the latest design trends which offers the perfect blend of elegance and contemporary aesthetic. Our cut-to-size panelling can provide a high-end look to any space and create an open and inviting atmosphere. At Cut My, we specialise in providing cut-to-size materials for your home design and business projects whilst ensuring a seamless fit for your specific requirements.
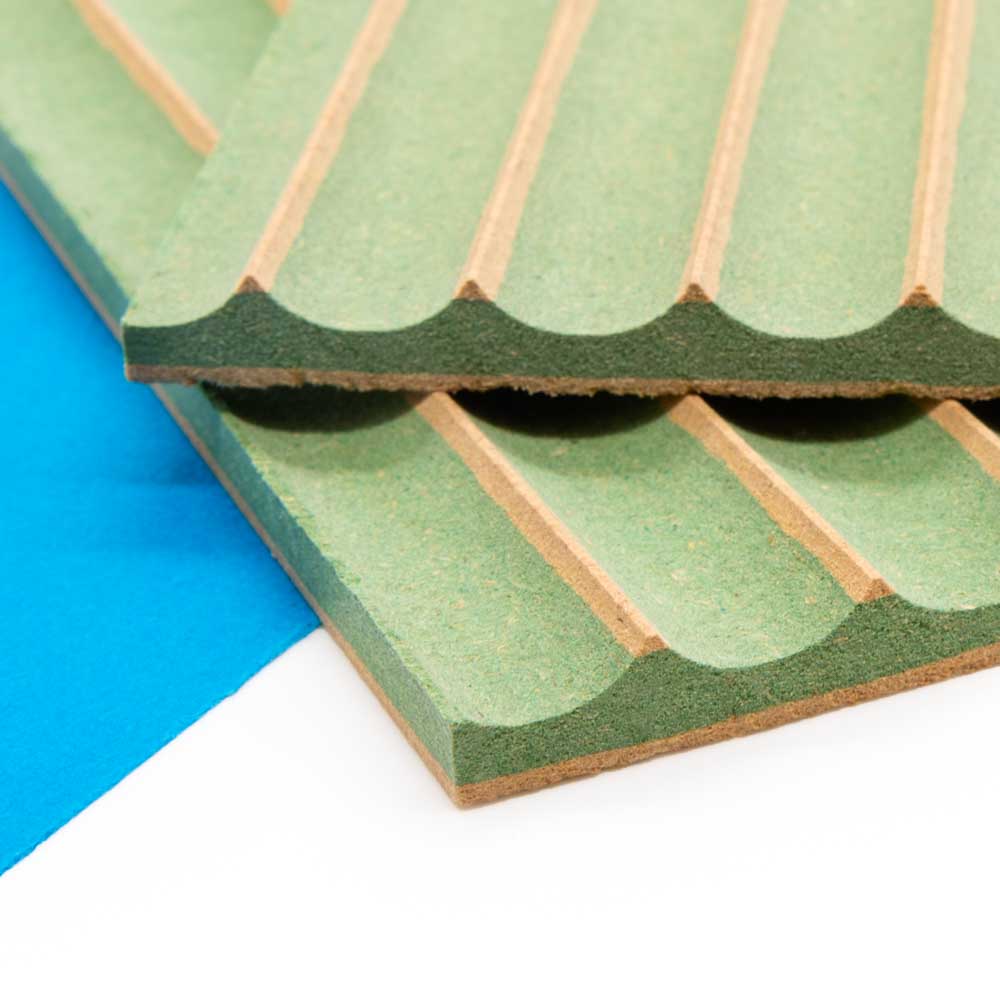
Created from Moisture Resistant MDF, this type of panelling is a perfect option for areas with high humidity like kitchens and bathrooms. Please note that this does not mean waterproof, so it should not be installed outside.
The 3D Wall panels are lightweight and easy to install yourself. All you have to do is measure the space you would like to install it in, input your dimensions into our site and get an instant quote for the price. Then you just need to place your order with any customisations and stick it to the wall when it arrives! We also provide a physical user-friendly installation instruction manual with all of our Wall Panelling Kits. Whether you are a DIY enthusiast or a professional interior designer, the simplicity of installation ensures a hassle-free experience.
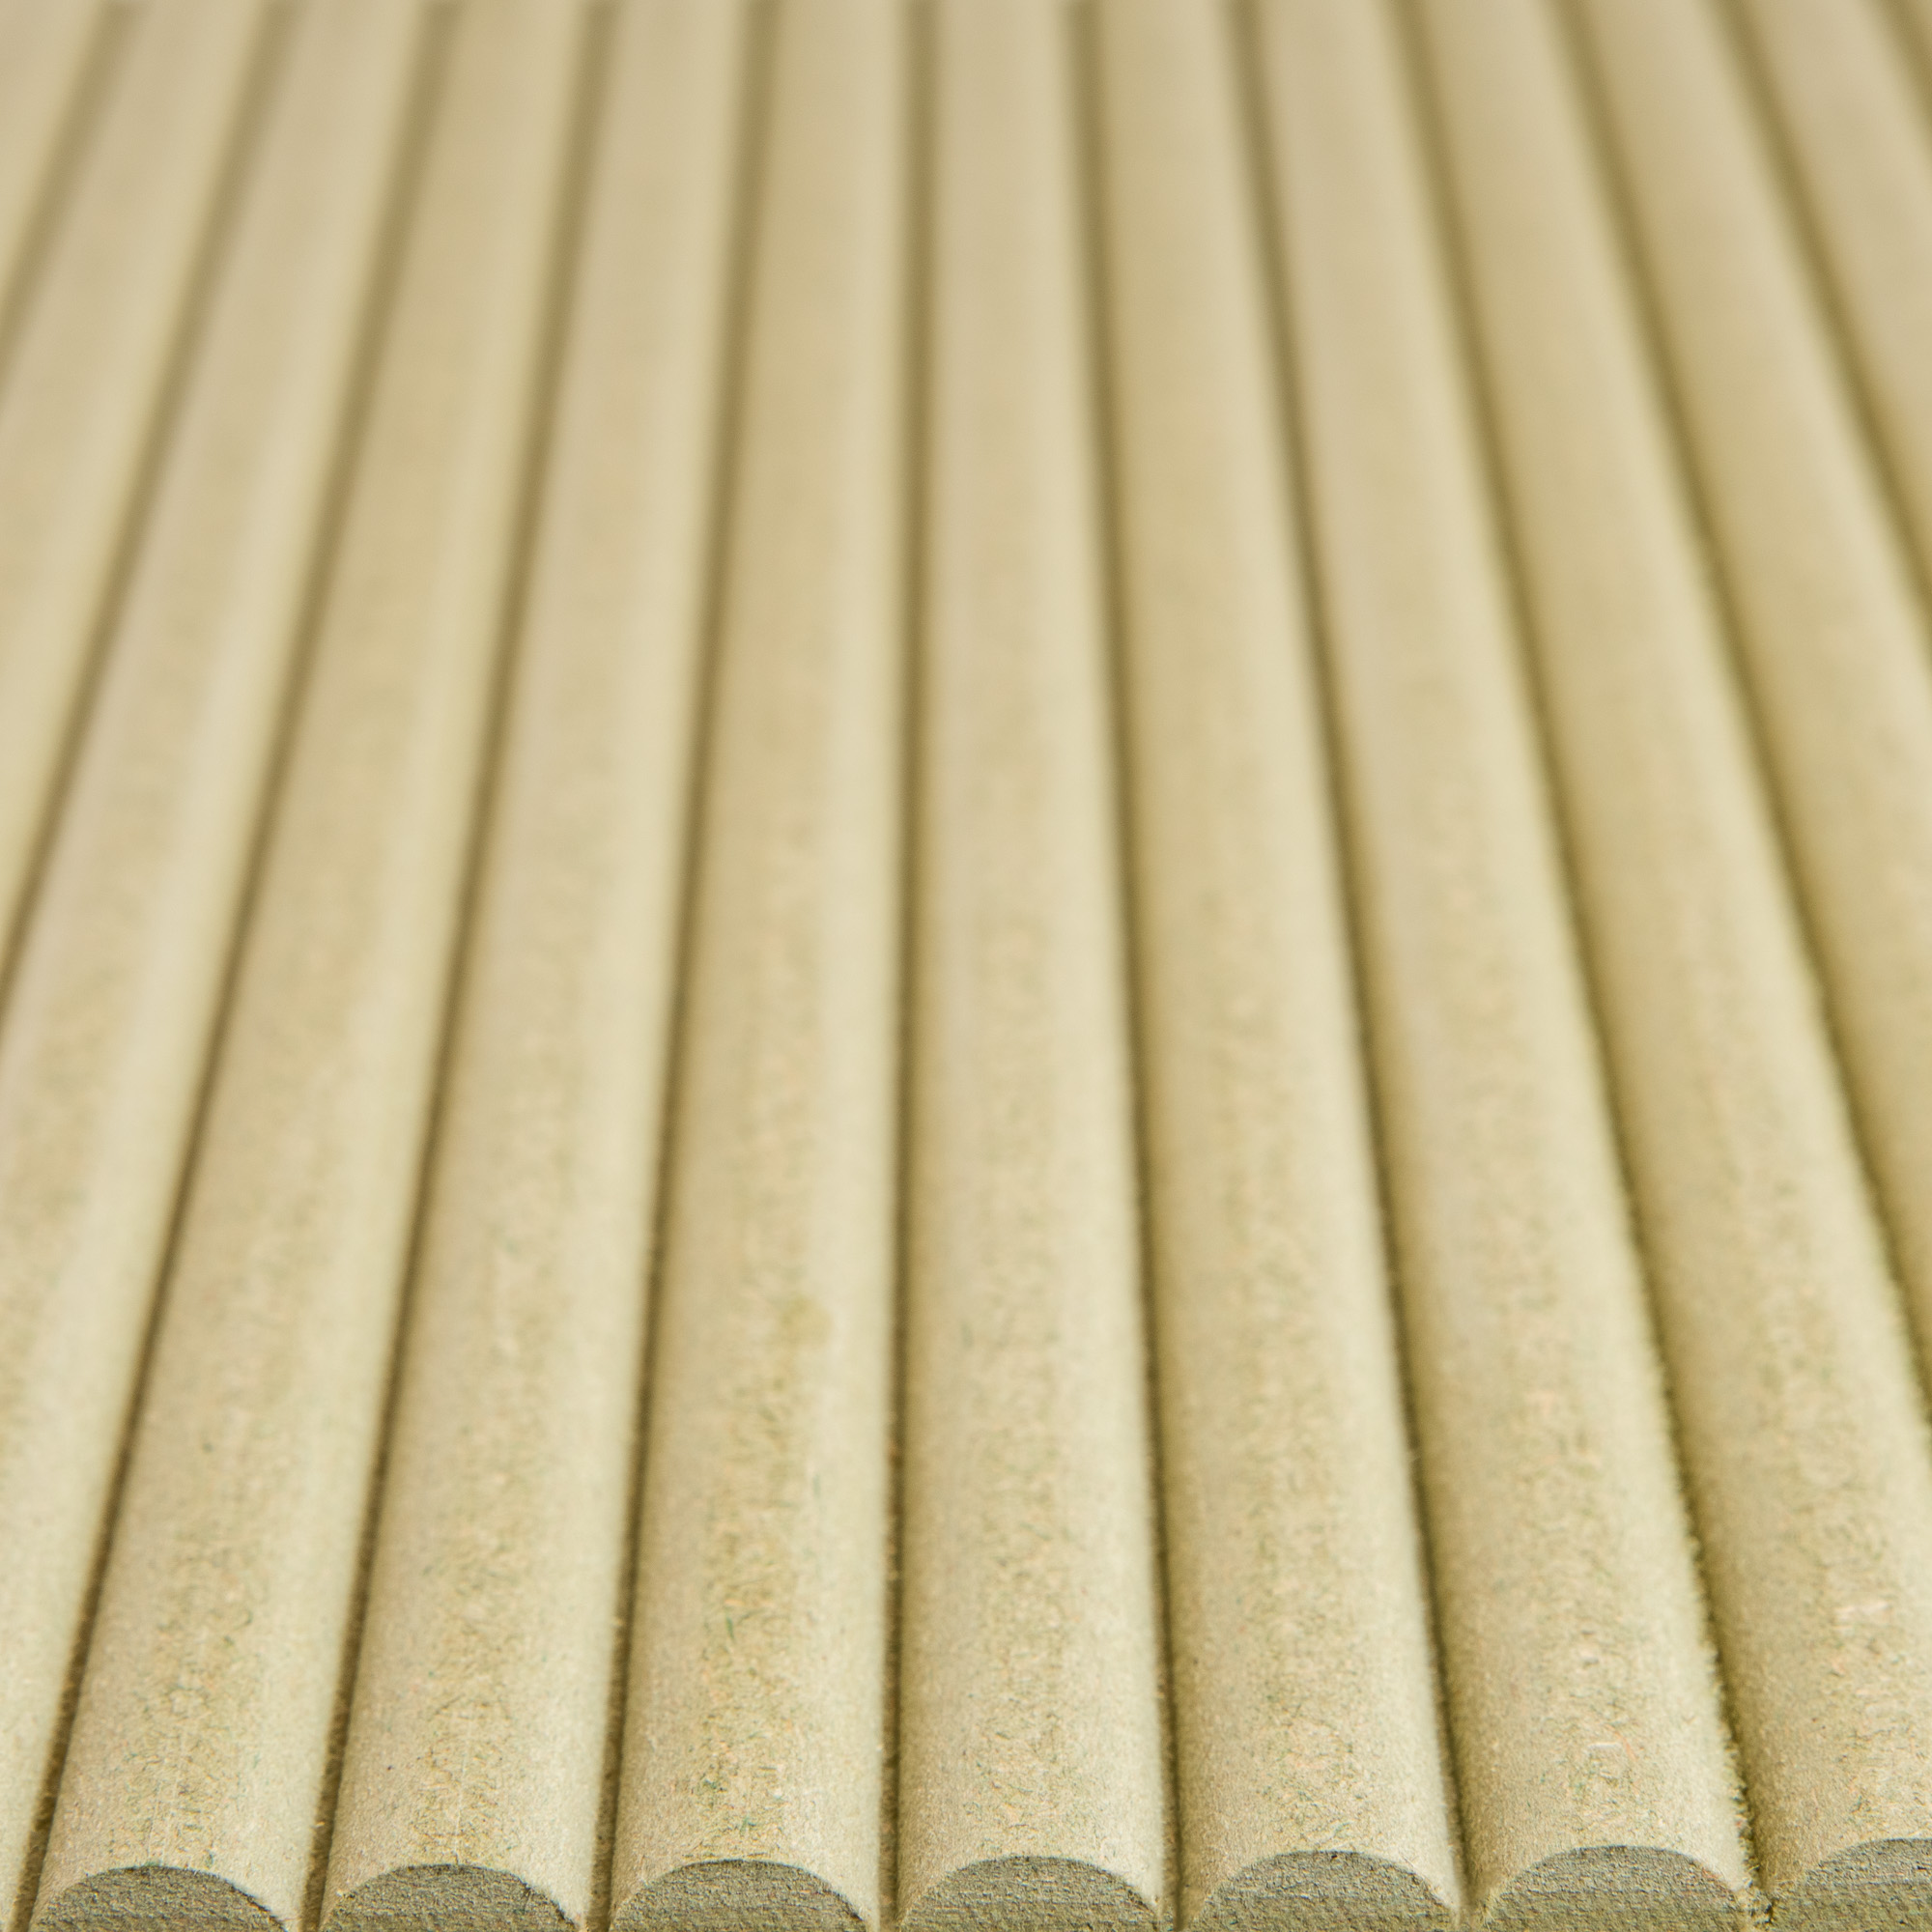
In addition to its aesthetic, 3D panelling also offers notable thermal properties that contribute to creating a comfortable and energy-efficient environment. The vertical grooves create small air pockets between channels which act as thermal insulators. This slows down heat transfer so it is ideal for both warm and cold conditions to maintain a stable temperature in your space.

Our 3D panelling is made with Medite Moisture Resistant MDF. Medite are known for their sustainability efforts and commitment to environmental stewardship. This material is also Forest Stewardship Council (FSC) and the Programme for the Endorsement of Forest Certification (PEFC) certified to ensure the traceability and legality of their wood supply.
It couldn't be simpler to install your 3D panelling. Everything is cut to size for you so all you have to do is apply adhesive and stick to the wall. Here are some simple steps for installing your 3D panelling, however, your order will come with a more detailed physical instruction manual to help you out!
If you have a large space to panel, you may have received multiple panels to fit together. You can lay them out on the floor to familiarise yourself with how they will be arranged on the wall.
Please ensure your space has a clean, smooth, flat wall before applying your fluted or ribbed wall panels. Put your Dust Sheets on the floor beneath the wall you are panelling to protect your flooring.
Using sandpaper, sand your panelling to remove any fuzziness from the grooves of your panelling. This is especially necessary for paintable ribbed or fluted panelling to ensure a smooth finish ready for painting.
With your caulking gun, apply a snaking line of adhesive to the back of the panel and adhere it to the wall. Make sure to use a spirit level to ensure that it is straight. Then apply pressure as you push the panel board firmly to the wall.
Repeat steps 2 and 3 if you have multiple panels until all of your panelling is on the wall.
You can then use Caulk along the edges of your panels to fill any gaps. If your wall is not completely straight, you may find that your panelling seems to come away from the wall slightly, so caulk can act as a paintable filler. Use a filling knife to smooth the caulk out and wait for it all to dry.
If you are using our Finsa-coloured MDF, please skip to step 8.
Using a primer and a paintbrush, prime your panelling and then wait for it to dry.
If you are using our Finsa-coloured MDF, please skip to step 8.
Paint your fluted or ribbed panelling a colour of your choice.
Once everything is dry. You are free to clean up and enjoy your new panelling!
| Material | Wood - MDF |
| Finishes | Paintable MDF |
| Thickness | 9mm Moisture Resistant MDF (Ribbed) or 12mm Moisture Resistant MDF (Fluted) |
| Maximum Sheet Size | 2440mm x 1220mm |
| Minimum Sheet Size | 100mm x 50mm |
| Fire Rating | Euroclass D |
| Cutting Tolerances | +/- 1mm |
Verified
Verified
Verified
Verified
Verified
Verified
Verified
Verified
Verified
Verified
Verified
Verified
Verified
Verified
Verified
Verified
Verified
Verified
Verified
Verified