Digital Marketing Assistant
Tanya is a skilled digital marketing assistant and photographer with a passion for aesthetics. She offers insights and inspiration for DIY enthusiasts, empowering them to embark on their creative journeys with confidence.
Winter Sale - 5% OFF orders £50+ -

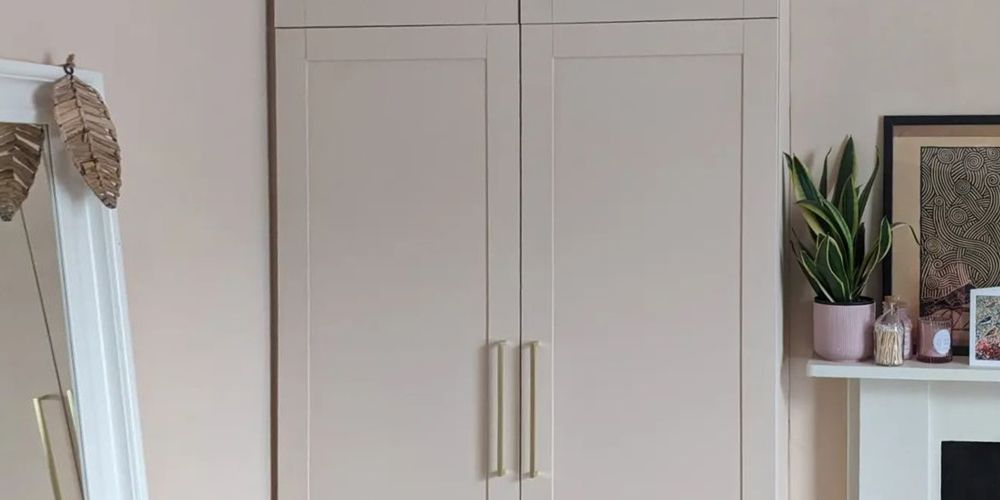
If you're a DIY enthusiast looking to transform your wardrobe doors without replacing them entirely, you're in the right place. One of the most affordable and stylish ways to upgrade your space is by adding shaker-style panelling using MDF strips. This guide will walk you through everything you need to know to achieve that clean, timeless shaker look at home. And best of all, you can order your MDF strips cut to size from us, making the whole process even easier.
Adding shaker panelling to your wardrobe doors is one of the most cost-effective ways to achieve a high-end, bespoke look. With just a few simple tools and our made-to-measure MDF strips, you can completely change the feel of a bedroom or dressing room. Adding shaker panel detailing around the edges of the doors not only enhances the aesthetic appeal but also provides a functional and stylish finish.
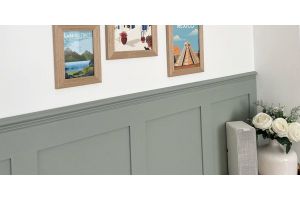
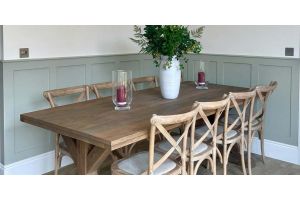
Shaker-style doors are known for their simple, classic design - flat panels with a clean rectangular frame. They work beautifully in both modern and traditional interiors, offering a sleek and understated elegance. By adding MDF strips to your existing flat wardrobe doors, you can create this iconic look at a fraction of the cost of replacing your doors. Using shaker style strips, you can ensure both aesthetic appeal and structural integrity when fitting them to your doors.
Shaker style has an emphasis on simplicity and functionality. The style is characterised by clean lines, minimal ornamentation, and on functionality. In panelling, shaker style is often associated with flat panels, simple frames, and a lack of intricate carvings or mouldings. The style is also known for its use of high-quality materials, such as solid wood or MDF, and its attention to detail.
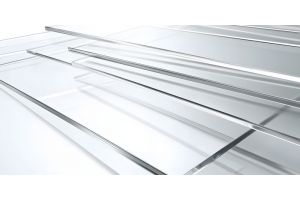
MDF (Medium-Density Fibreboard) is ideal for DIY shaker panelling projects because it’s:
When cut to size and glued onto your existing doors, MDF strips can mimic the appearance of traditionally built shaker doors.

Before getting started, gather the following:
1. Measure Your Wardrobe Doors
Begin by measuring the height and width of each door.
2. Order Your MDF Strips
Each door panel typically requires:
3. Mark Your Panel Layout
Use a pencil and a spirit level to mark where each MDF strip will go. Double-check your measurements to ensure everything lines up perfectly.
4. Attach the MDF Strips
Apply a thin bead of PVA glue or adhesive to the back of each MDF strip and press it firmly onto the door. Work your way around each panel shape, starting with the vertical sides first, followed by the top and bottom strips.
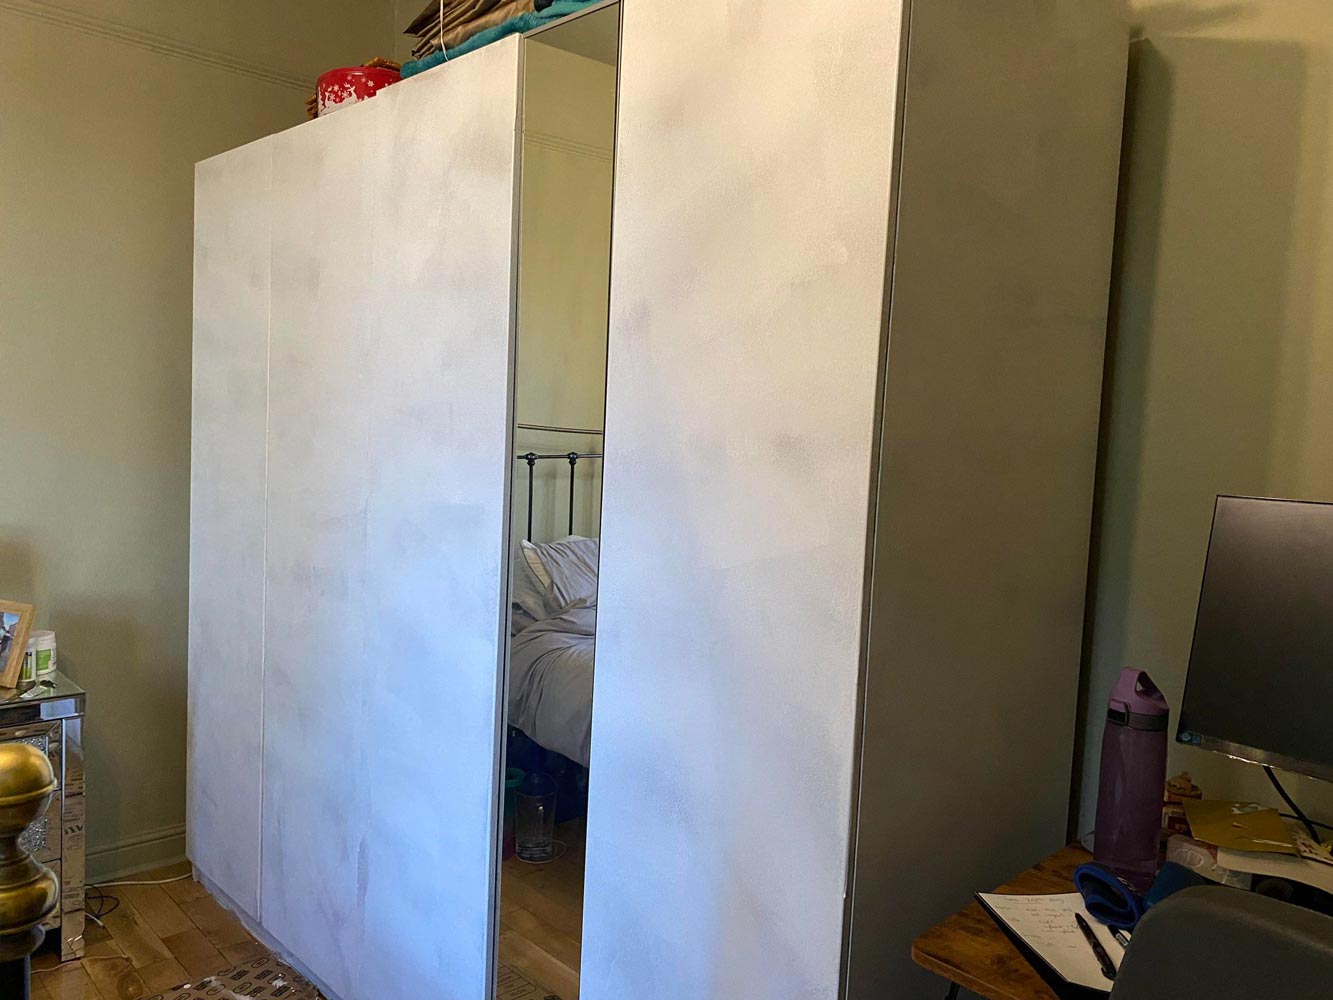
5. Fill, Sand, and Prep
Once the glue has dried, use wood filler to smooth out any gaps or joins between the strips. Let the filler dry, then sand all surfaces so they’re smooth and ready for painting.
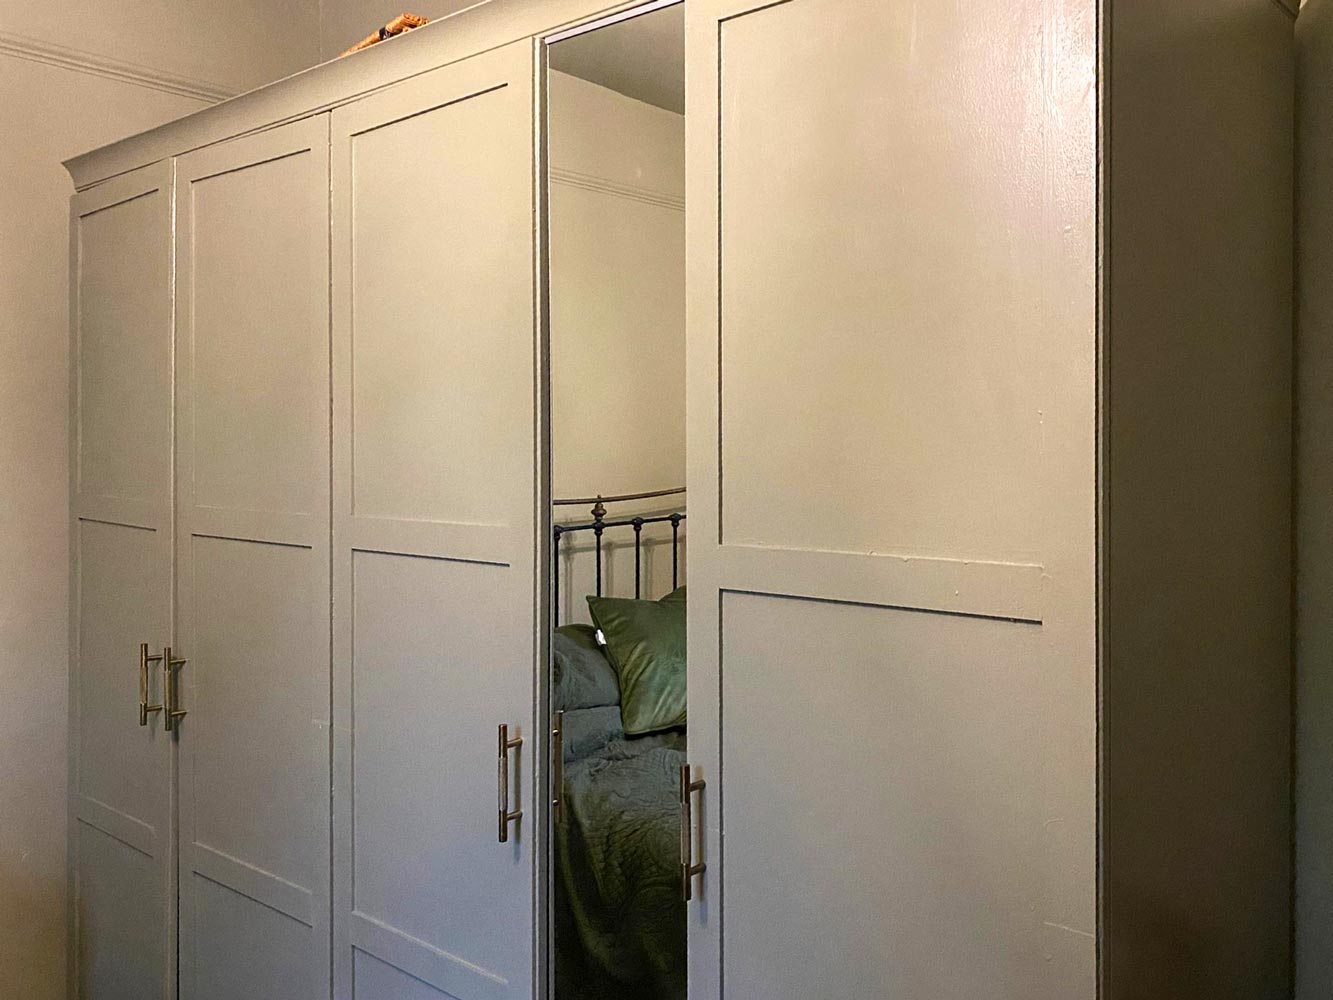
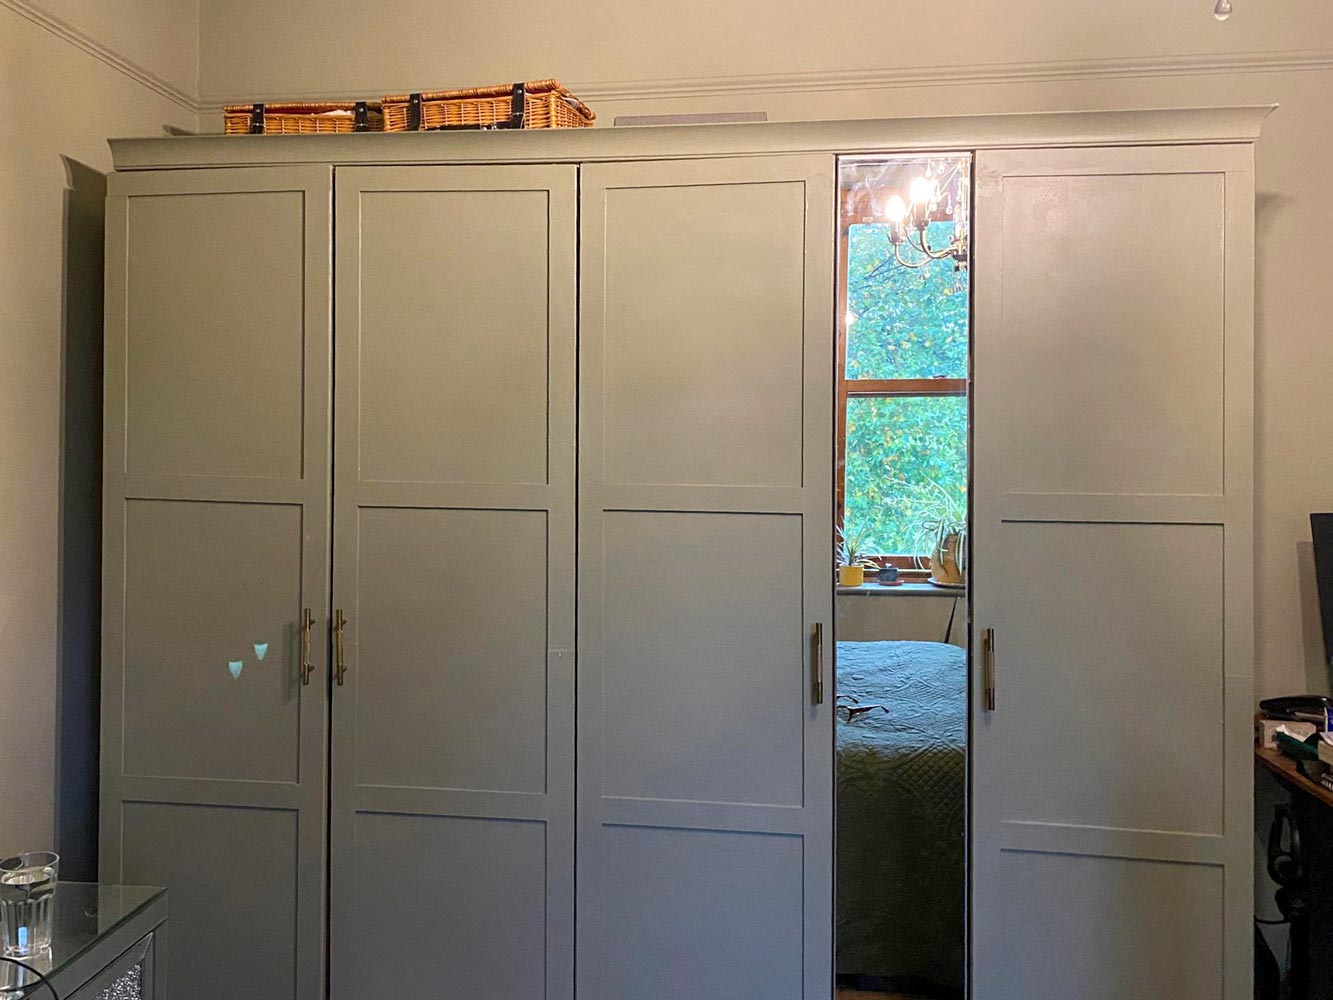
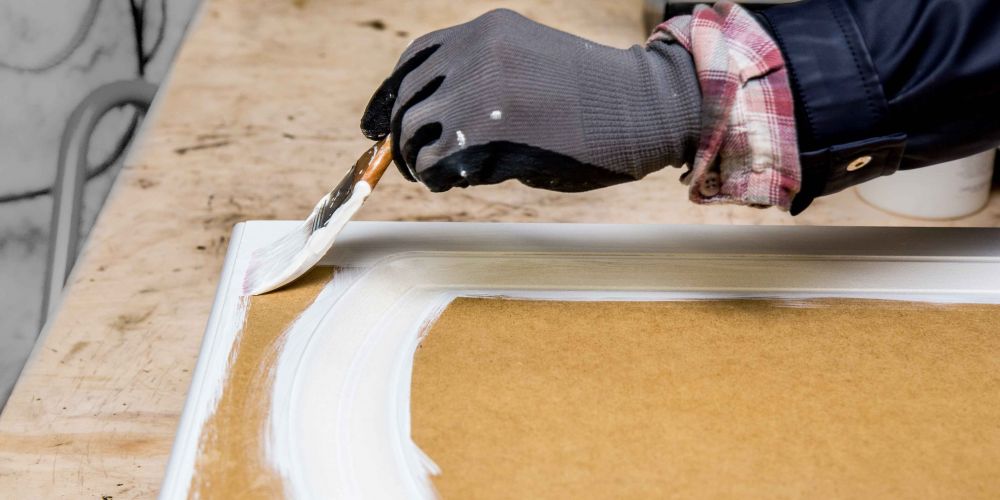
6. Prime and Paint
Apply a primer suitable for MDF. Once dry, paint the entire door in your chosen colour using a brush or roller. Popular colours for shaker doors include white, grey, navy blue, or sage green. The result will be fancy doors that not only look stylish but also provide a cost-effective and rewarding DIY upgrade.
To make your project even easier, we offer MDF panelling strips in convenient packs of pre-cut lengths - perfect for standard shaker designs. Want something more bespoke? No problem. You can also order MDF strips cut to your exact width and height using our cut to size wood sheets page. Whether you're working on a single door or a full set of wardrobes, we’ll supply precisely what you need to get a flawless finish.
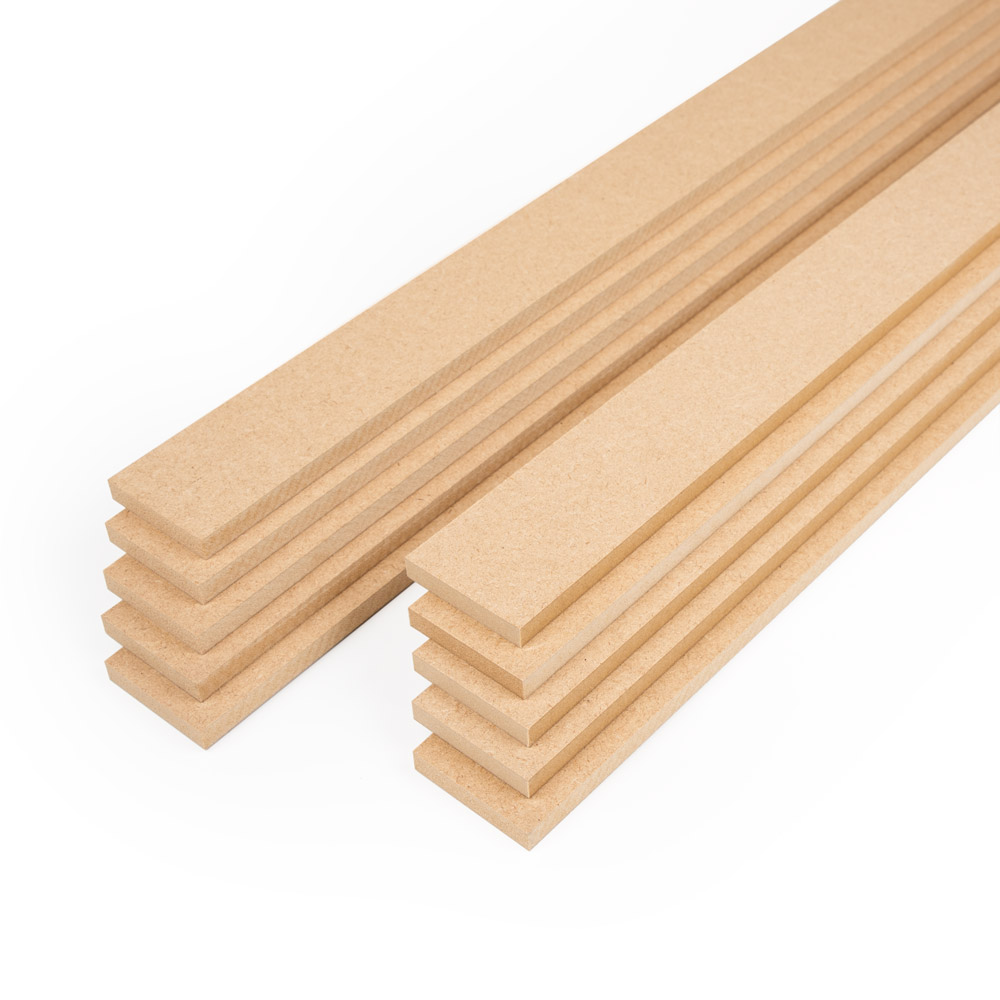
MDF Strip Pack
1.5 metre strip packs available in both standard and moisure resistant MDF
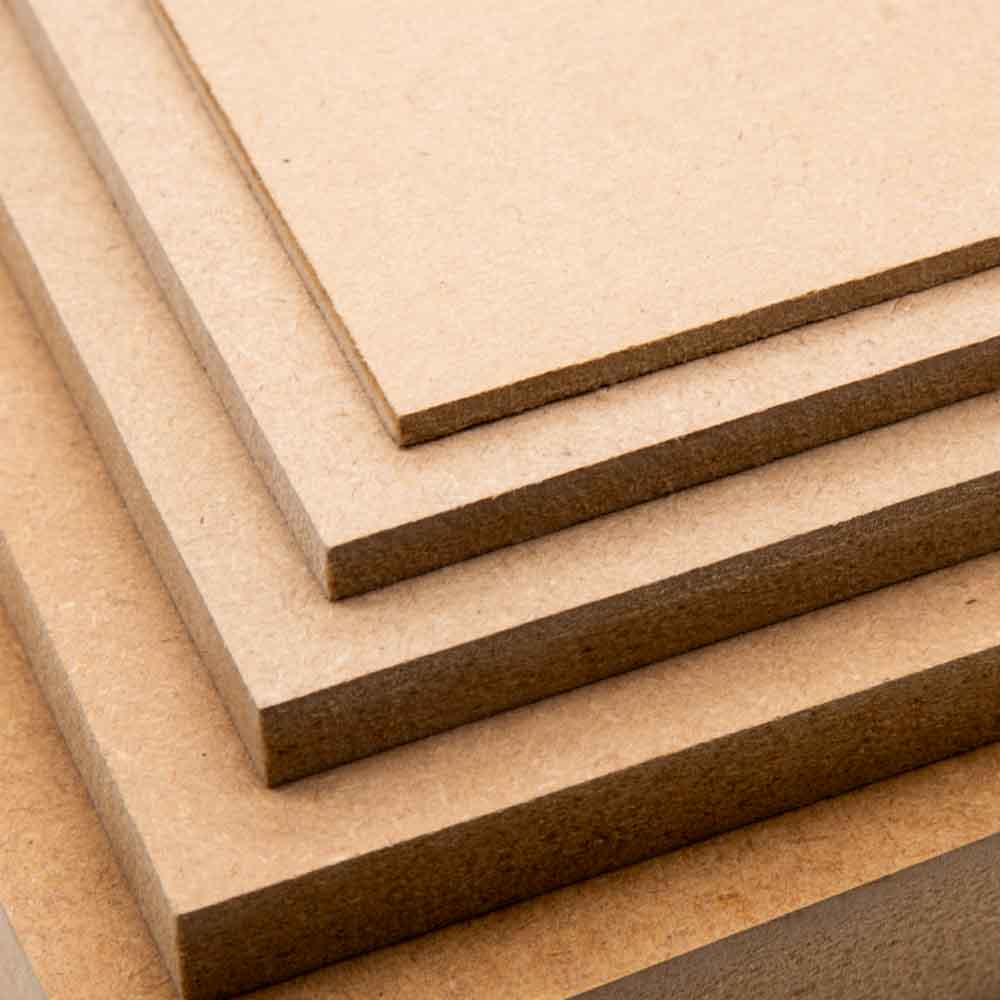
Cut to Size MDF
We can custom cut your MDF strips to your desired width, length and thickness
530,000+
Orders Shipped
2.4million
Pieces Cut to Size
14,000+
5* Reviews ![]()
UK's Leading Supplier of Cut to Size Materials
With over 14,000 5-star reviews backing our quality, speed and service, you know you can count on us. Whether DIY or trade, huge contract or small - we deliver the goods, tailored to your specs, on time and budget. Don't waste time searching - discover why over 530,000 happy customers have chosen us for all their cut-to-size wood and plastic since 2016.


We're Here to Help
Our Help Centre is available 24/7 to explore FAQs, discover DIY ideas and advice, and even ask our community of fellow DIY enthusiasts.
Verified
Verified
Verified
Verified
Verified
Verified
Verified
Verified
Verified
Verified
Verified
Verified
Verified
Verified
Verified
Verified
Verified
Verified
Verified
Verified