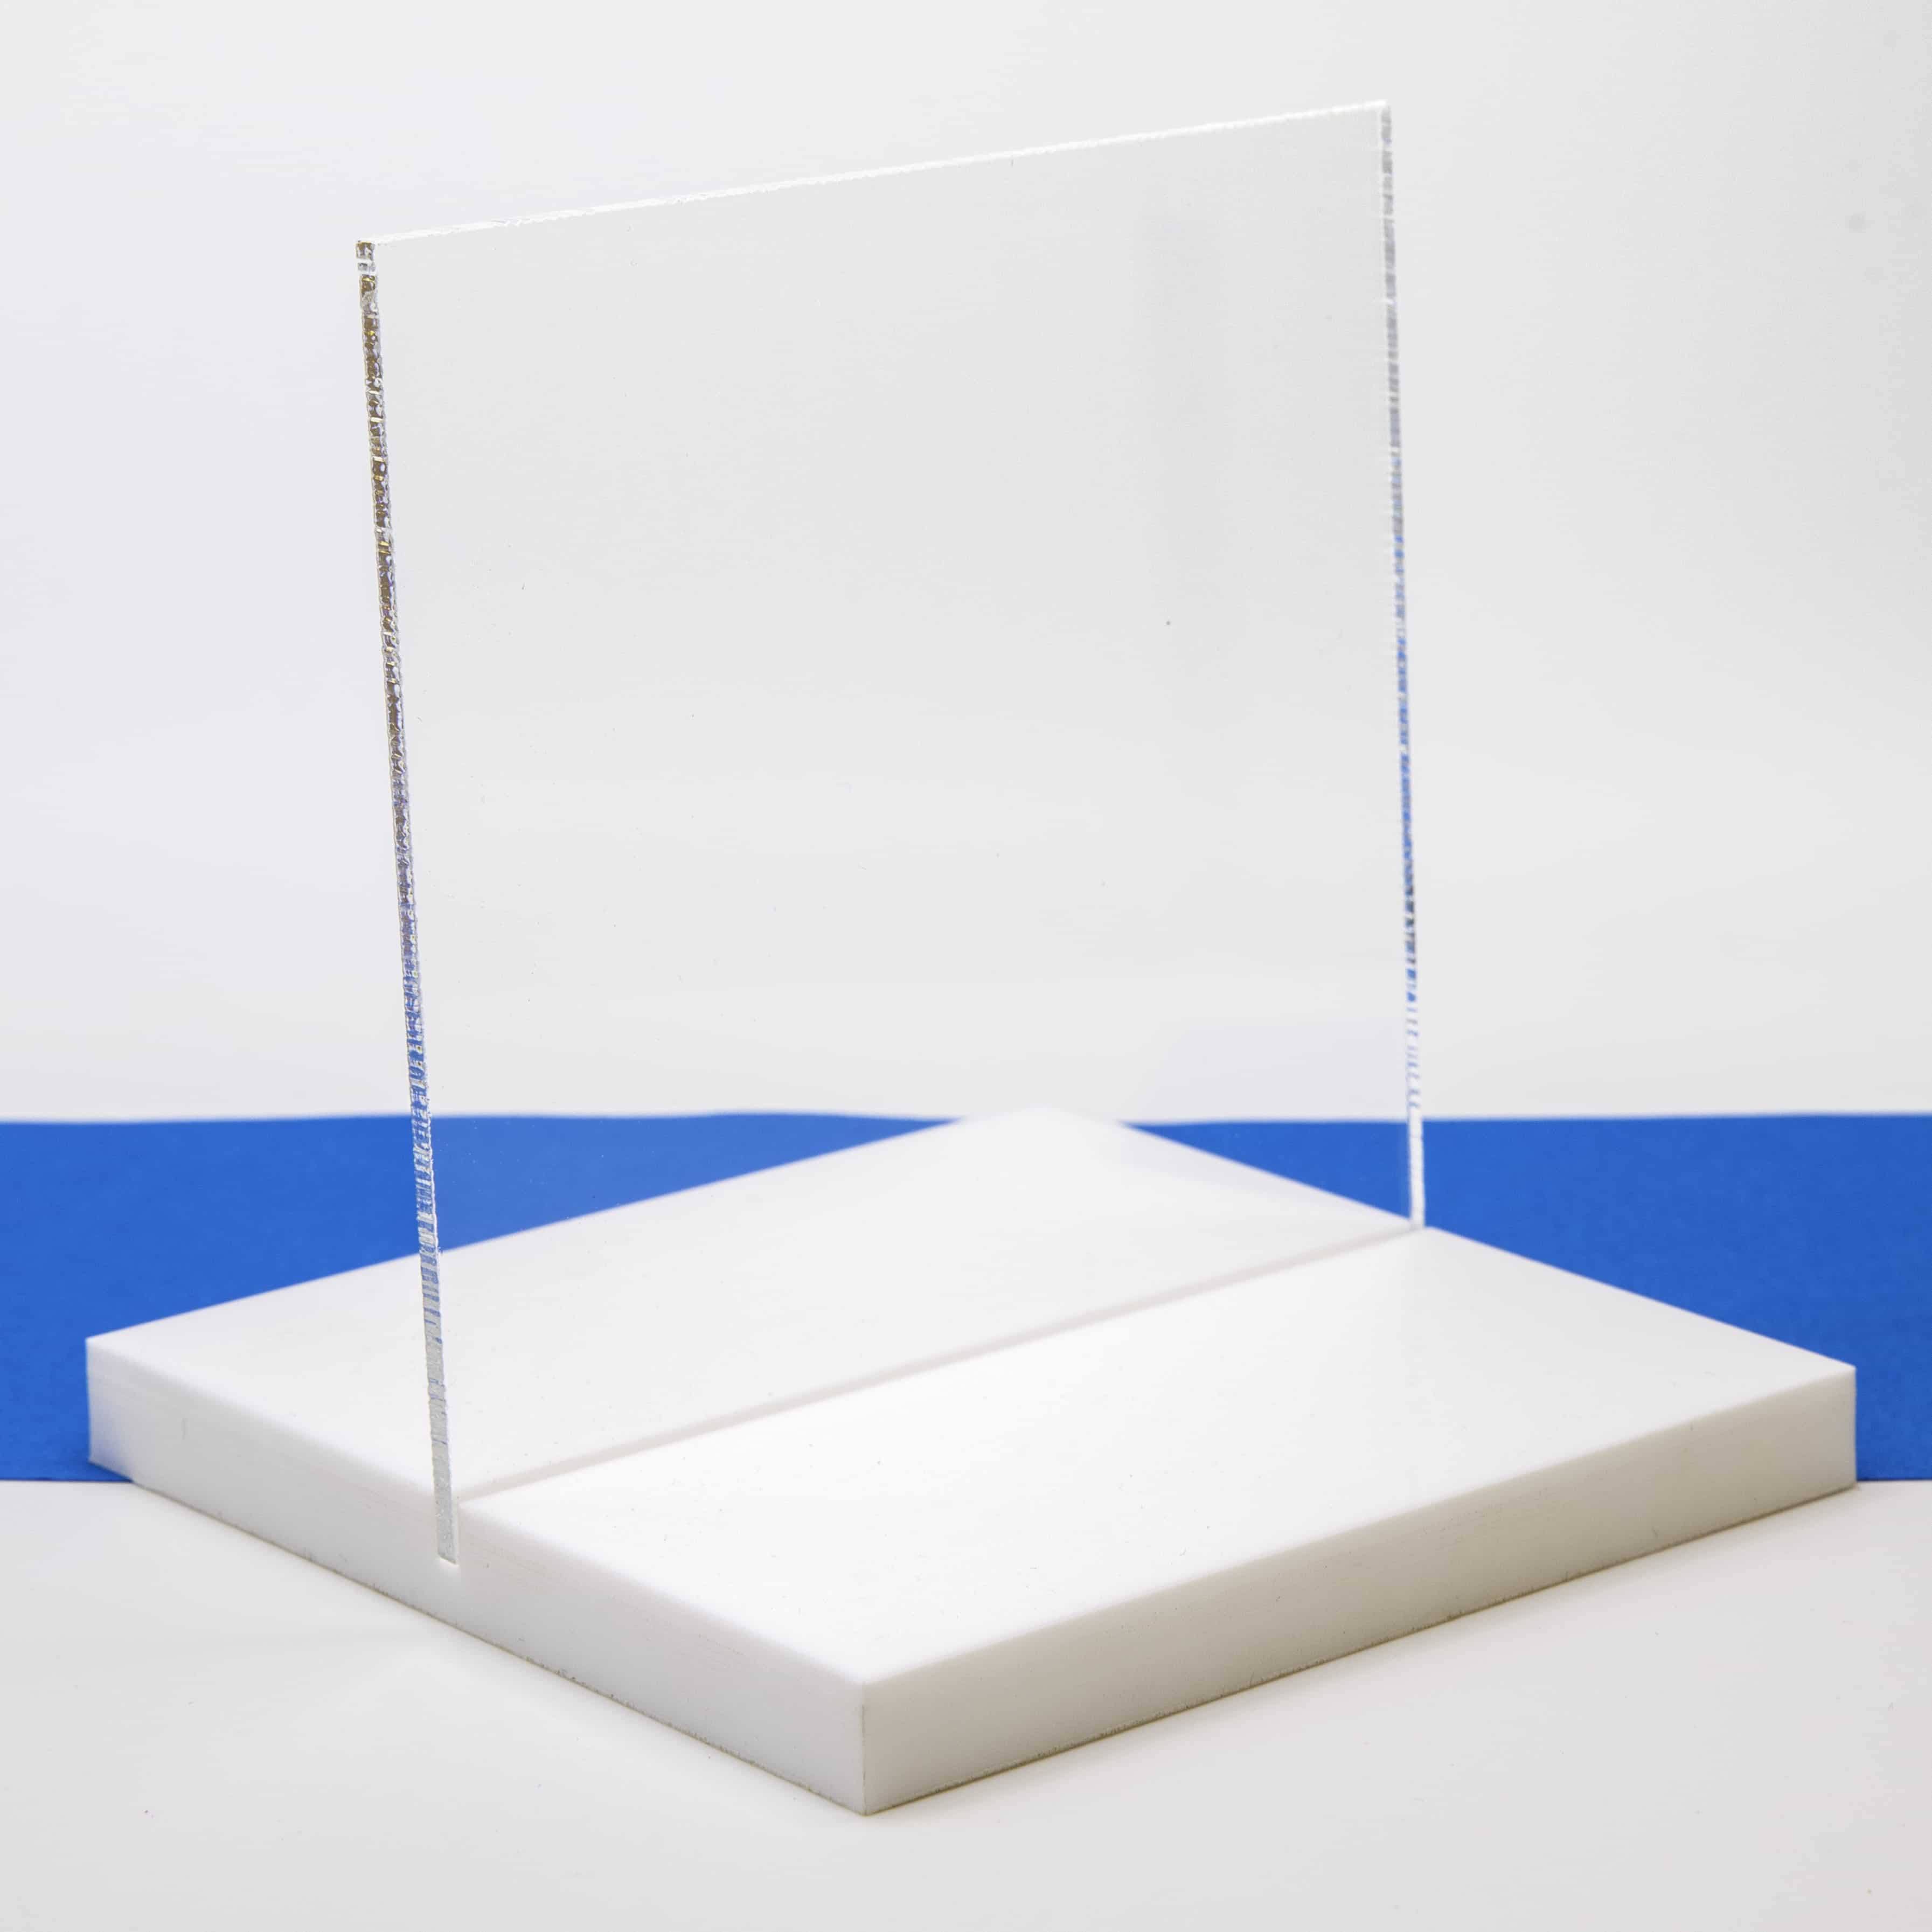
Acrylic sheets, often known by the brand name Perspex in the UK, are versatile materials used in various applications, from DIY projects to professional fabrication. Whether creating a custom display case, modifying a piece of furniture, or working on an art installation, knowing how to drill acrylic properly is essential. This guide will walk you through the process, ensuring you achieve clean, precise holes without damaging your acrylic sheet.
Preparation: Tools and Safety First
Before you begin, gather the necessary tools. You'll need:
- A drill (preferably variable speed)
- Sharp drill bits suitable for acrylic
- Masking tape
- A marker or pencil
- Scrap wood for backing
- Safety goggles and gloves
- A workbench or stable surface
Safety should always be your top priority. Acrylic can chip or crack if not handled properly, so wearing safety goggles is crucial to protect your eyes from potential debris. Gloves will help prevent cuts from sharp edges.
Choosing the Right Drill Bit
The success of your project largely depends on using the correct drill bit. For acrylic, you have several options:
- Specially designed acrylic drill bits: These have a unique point angle that reduces the risk of cracking.
- Brad point bits: Excellent for precise positioning and clean entry.
- Standard twist bits: Can be used but require more care to prevent chipping.
Ensure your chosen bit is sharp. A dull bit is more likely to cause cracking and produces a less clean hole.
Setting Up Your Workspace
Proper setup is crucial for successful drilling. Follow these steps:
- Secure your acrylic sheet to a stable surface, preferably a workbench.
- Place a piece of scrap wood underneath the acrylic. This provides support and helps prevent chipping on the exit side of the hole.
- If drilling multiple holes, consider clamping a straight edge guide to ensure accuracy.
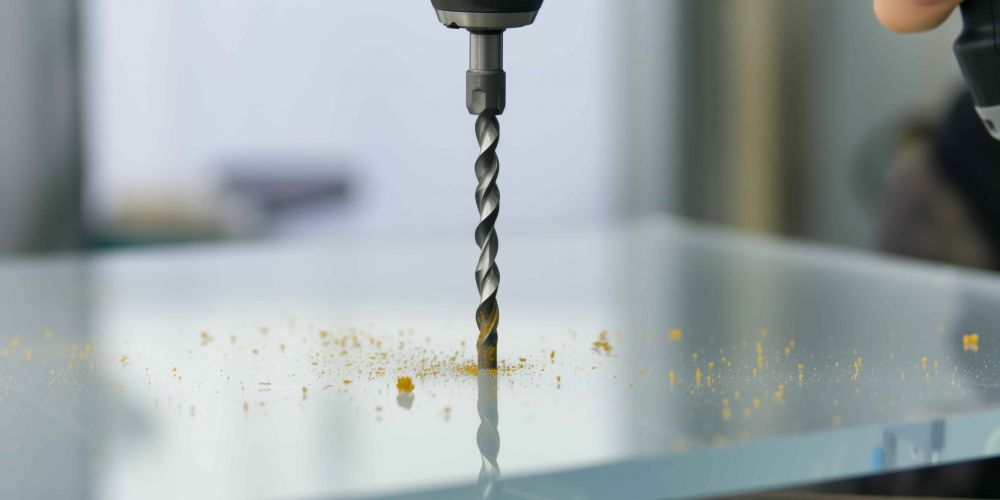
The Drilling Process
Now that you're set up, it's time to drill. Here's a step-by-step guide:
- Mark your drill spot: Use a marker or pencil to precisely indicate where you want to drill. For added precision, apply a small piece of masking tape over the spot and mark on that. The tape also helps prevent the drill bit from slipping.
- Start with a pilot hole: Begin with a smaller drill bit to create a pilot hole. This helps guide the larger bit and reduces the risk of cracking.
- Drill slowly: Set your drill to a low speed. Acrylic can melt if the drill bit gets too hot, so a slower speed helps prevent this.
- Apply steady, gentle pressure: Let the drill do the work. Applying too much pressure can cause the acrylic to crack.
- Cool as you go: If you're drilling thicker acrylic or multiple holes, periodically dip the drill bit in water to cool it down. You can also use a spray bottle to mist the drilling area, which helps prevent melting and clears away debris.
- Drill from both sides for thick sheets: If you're working with thicker acrylic (over 10mm), consider drilling halfway through from one side, then completing the hole from the other side. This technique helps prevent chipping on the exit side.
Common Issues and Solutions
Even with careful preparation, you might encounter some issues. Here's how to address them:
- Cracking: If you notice small cracks forming, stop drilling immediately. You may need to start over with a sharper bit or slower speed.
- Chipping: To minimize chipping, ensure you're using a backing board and consider applying masking tape to both sides of the acrylic.
- Melting: If the acrylic starts to melt, stop drilling and allow it to cool. Clean the bit and resume at a lower speed, using water to cool the area.
Finishing Touches
Once you've successfully drilled your hole, there are a few final steps:
- Smooth the edges: Use fine-grit sandpaper to gently smooth any rough edges around the hole.
- Clean up: Remove any debris or dust from the acrylic surface and your work area.
- Polish (optional): For a professional finish, you can use acrylic polish to restore shine to the area around the drilled hole.
Drilling acrylic sheets might seem daunting at first, but with the right tools, preparation, and technique, it's a skill that anyone can master. Remember, the key is to work slowly and patiently. Don't rush the process, and always prioritise safety.
As you gain experience, you'll develop a feel for the material and become more confident in your abilities. Whether you're working on a small home project or a large-scale professional job, these techniques will help you achieve clean, precise holes in your acrylic sheets.