The store will not work correctly when cookies are disabled.
Cookie Preferences
We use cookies and similar technologies to enhance your experience and ensure smooth order processing and to improve our website by analysing visitor behaviour or personalise content and show relevant offers.
Essential cookies are required for the site to function and cannot be disabled. By clicking "Accept" you agree to all cookies, including analytics and marketing. To decline non-essential cookies, click "Decline".
Tanya is a skilled digital marketing assistant and photographer with a passion for aesthetics. She offers insights and inspiration for DIY enthusiasts, empowering them to embark on their creative journeys with confidence.
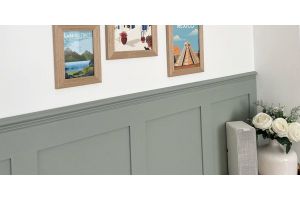
How to Panel Multiple Walls in a Room: Complete Planning and Installation Guide
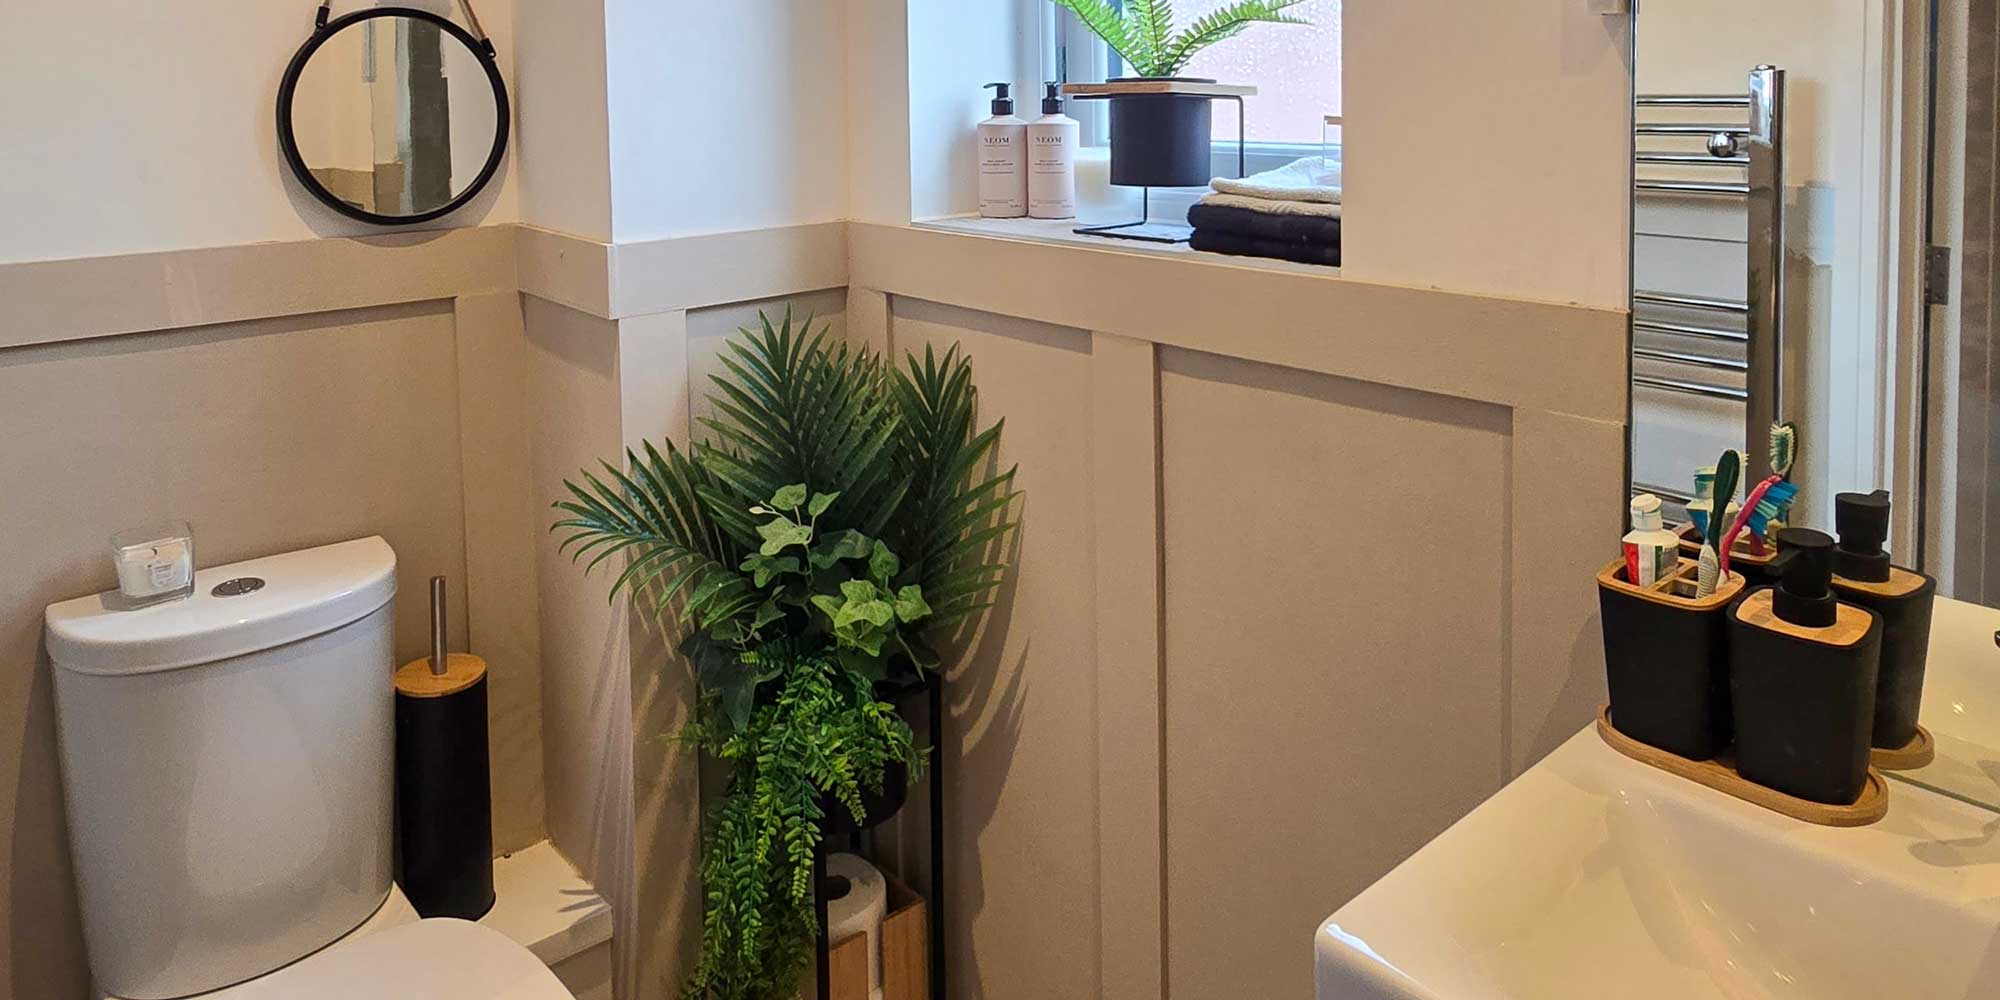
Panelling multiple walls in a room transforms an ordinary space into something truly special. Rather than the piecemeal look of single accent walls, multi-wall panelling creates a cohesive, luxury finish that adds significant value to your home. With multiple walls panelled, you can create striking visual effects like feature corners, wrap-around designs, or cohesive colour schemes that tie the entire space together. However, achieving that seamless, professional appearance requires careful planning, particularly around measurements, ordering, and ensuring consistent alignment where walls meet.
Here is a guide outlining key considerations to keep in mind before placing an order. It covers measuring, ordering, fitting, and managing dado rails.
Considerations Before You Start
The Two Main Approaches
Option 1: Individual Wall Kits - Order a separate kit for each wall. This is simpler to plan and install but may result in slightly different spacing between walls, creating minor visual discontinuities at corners or between column spacing.
For example: If one wall is 2400mm wide and another is 2200mm wide, shaker columns may not line up exactly across the corner, and both walls would have slightly different column spacing to each other.
Option 2: Combined Kit - Order one large kit sized for the total width of all walls combined. This ensures perfect spacing consistency but requires you to cut the panelling down for each wall and precise planning.
Option
Pros
Cons
1. Kit Per Wall
Simpler to order, pre-sized
Groove/batten spacing may not align across corners
2. Combined Total Kit
Consistent spacing across walls
Needs cutting down, more measuring up front
The choice between these approaches depends on your skill level, available time, and how critical perfect alignment is to your desired outcome.
Why Multi-Wall Panelling Needs Planning
Groove alignment or shaker spacing across adjoining walls
Wall thickness impact at corners
Ordering panels to fit either individual walls or full room dimensions
Measuring Your Room Correctly
Measure each wall from corner to corner
Account for skirting boards or dado rails already in place
Check both wall width and height for accuracy
Internal Corner Adjustments
Deduct panel thickness (e.g., 9–12mm) from adjoining walls when measuring. For example: If one wall has shaker panelling at 12mm thick, subtract that from the width of the adjoining wall.
External Corner Adjustments
Add batten thickness to walls wrapping around an external corner.
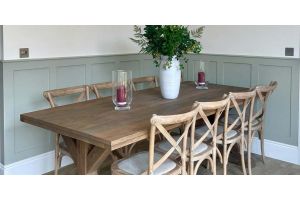
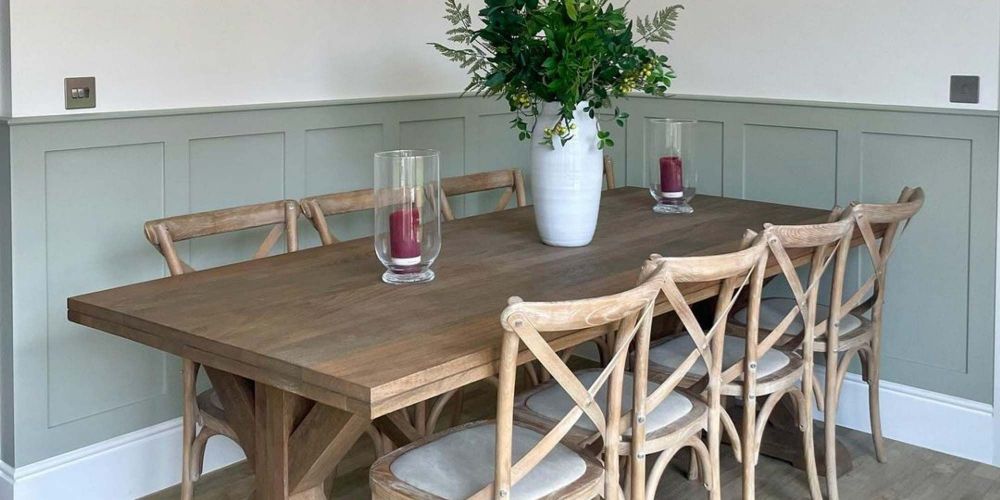
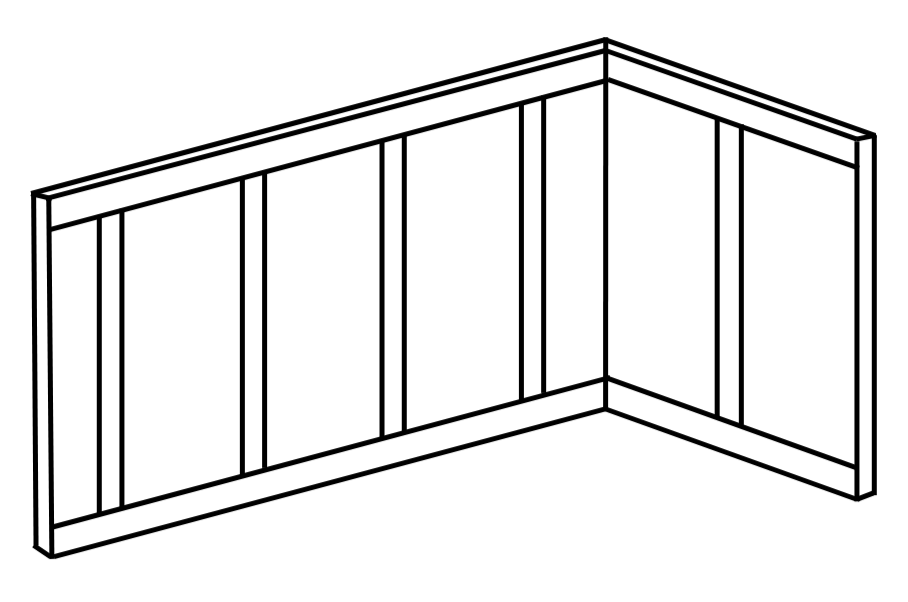
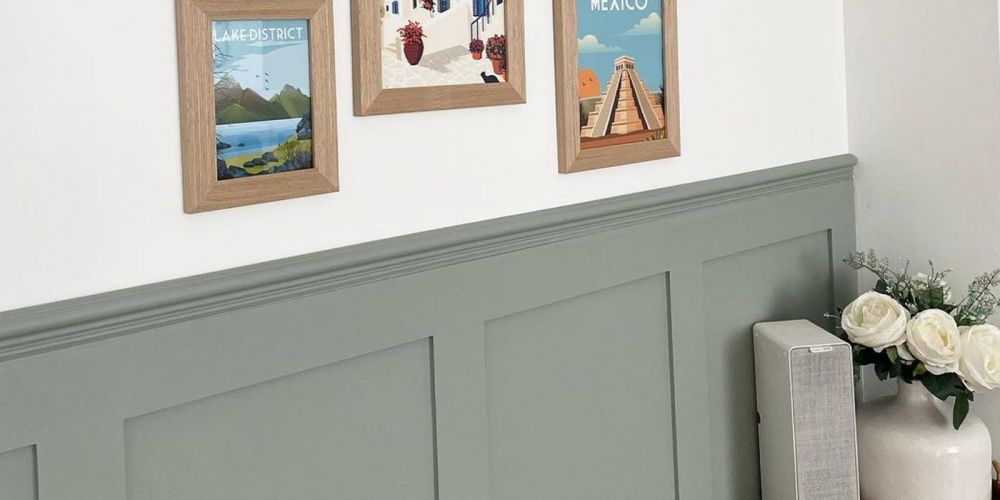
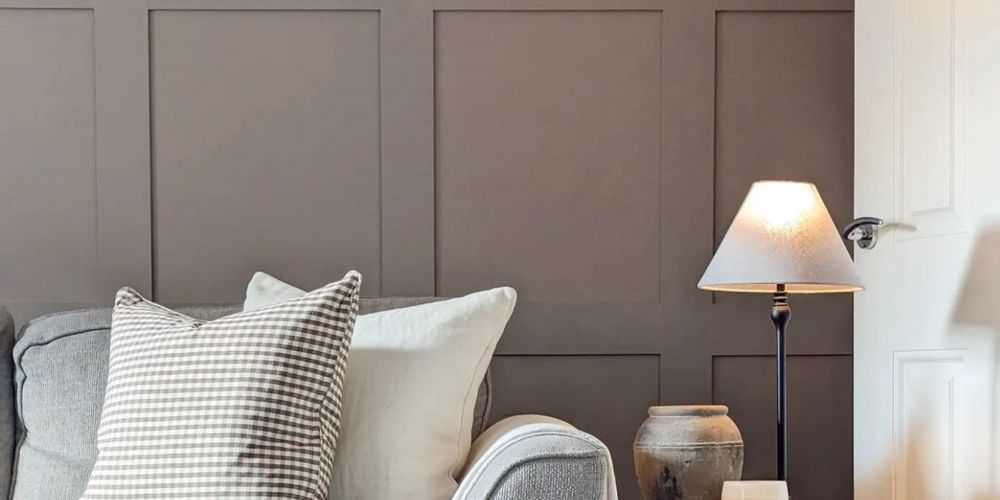
Shaker Panelling
Shaker panelling creates a timeless grid-like pattern using vertical battens (columns) and horizontal rails. The key to professional-looking results across multiple walls is achieving consistent spacing between vertical battens, especially where walls meet at corners.
The Core Issue:
Each wall's batten spacing is determined by dividing the available wall width by the number of battens. When walls have different widths, this creates different spacing between battens, leading to visual discontinuity at corners.
Example of the Problem:
Wall A (2400mm): 4 battens = 465mm spacing Wall B (2200mm): 4 battens = 425mm spacing 40mm difference in width creates different panel spacing on each wall.
Option 1: Individual Wall Kits How it works: Order separate kits sized for each wall's adjusted width.
Pros:
Simpler to plan and order
You can tackle one wall at a time
Easier to manage storage and delivery
Cons:
If each wall is a different width, there is potential for different batten spacing on each wall.
Option 2: Combined Kit How it works: Order one kit sized for the total combined width of all walls.
Combined width = Sum of all adjusted wall widths Example: 3000mm + 2482mm + 1982mm = 7464mm Order one kit for 7464mm total width
Pros:
Perfect spacing consistency across all walls
Continuous visual flow around corners
Cons:
You will need to cut the horizontal battens to size for each wall
Corner Considerations
When panelling multiple walls:
Always measure wall widths from corner to corner.
If two walls meet, the panelling on one wall will reduce the starting point of the next wall by the panelling’s thickness.
For example: If Wall A is 1000mm wide and your battens are 9mm thick, once Wall A is panelled, Wall B now has 9mm less width starting from that corner. So you would record Wall B’s width as 991mm instead of 1000mm.
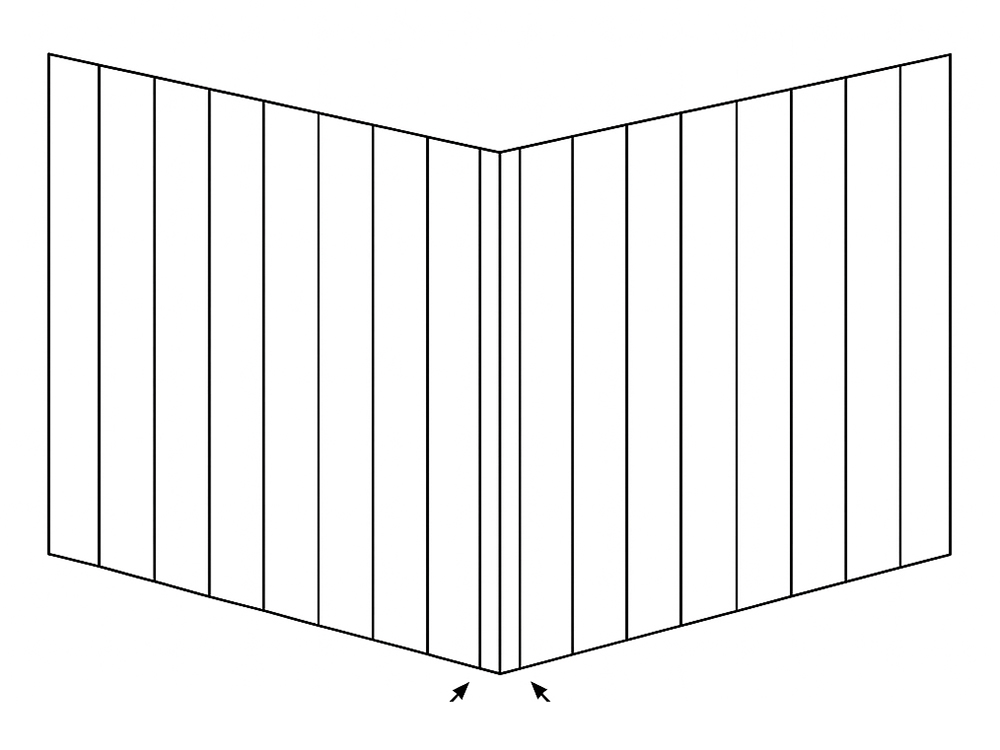
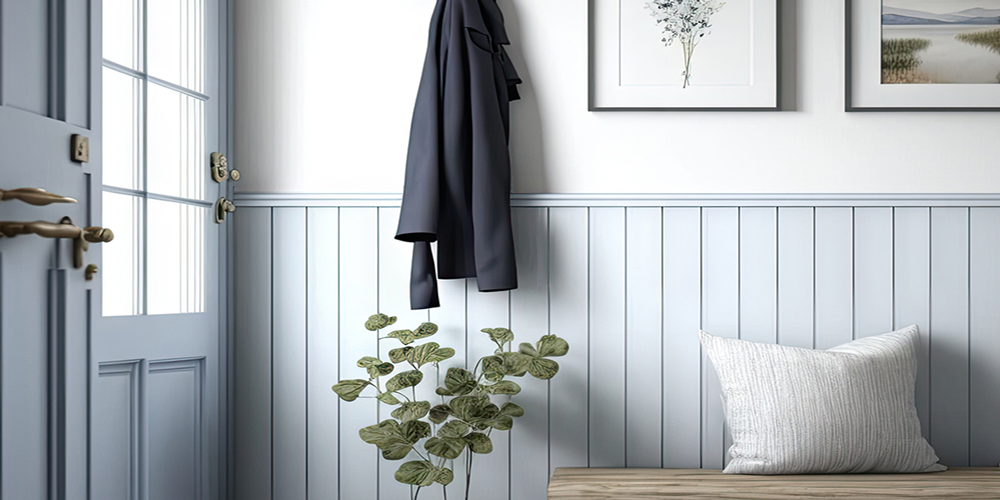
V-Groove Panelling
If you are planning to panel more than one wall using V-Groove panelling kits, there are some key layout and visual considerations that can affect how seamless your installation looks.
1. How V-Groove Kits Are Supplied
V-Groove panelling is cut into boards no wider than 600mm each for easier handling and delivery.
If your wall width isn’t an exact multiple of your chosen groove spacing (80mm, 120mm, 180mm, or 220mm), the two end boards—on the left and right—may be narrower than the other boards.
Groove Spacing Impact:
Groove layout is always centre-aligned. This means grooves are balanced around the centre of your wall, not simply repeated from left to right.
End segments may therefore be smaller to maintain that balance.
2. How Panels Are Cut for Joining
It is likely that you will have multiple boards making up the width of one wall. They are cut so they can be joined along a groove. This creates a seamless finish - grooves appear continuous with no visible flat panel joins between boards.
Left and Right End Panels:
The panels at the very left and right of a kit are cut at a straight 90-degree angle - not along a groove so that they sit flush against the wall.
These panels may have a narrower width than the standard groove spacing due to centre alignment.
3. What This Means for Panelling Multiple Walls
If you order a separate kit for each wall, each wall’s groove layout is calculated independently.
This means:
Groove spacing may not match perfectly where two walls meet - especially if the end panels on both walls are narrower than the main groove spacing.
At the corner join, you may see two smaller groove segments next to each other rather than a continuous groove pattern.
If you order one combined-width kit for all the walls together you can maintain consistent groove spacing across multiple walls, however you will need to cut panels yourself to fit each wall.
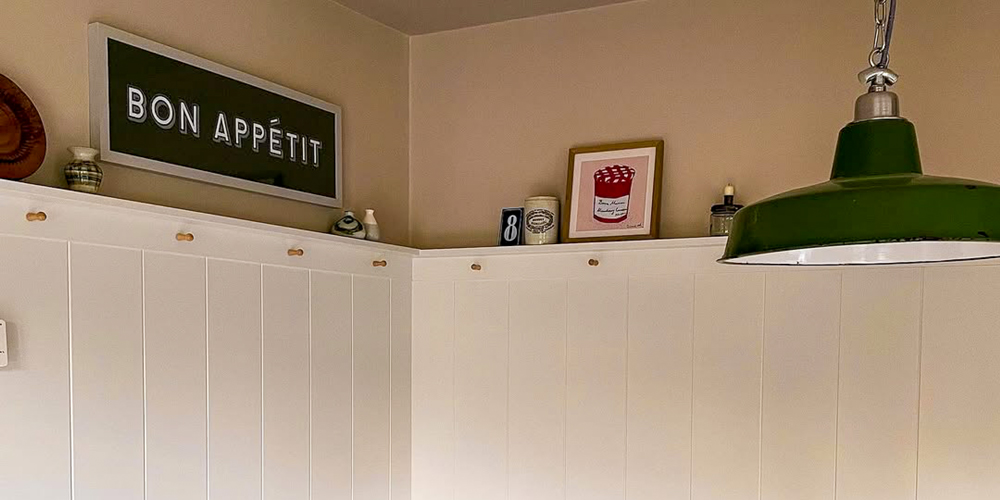
4. Handling Dado Rails
Shaker panelling often finishes with a dado rail on top:
For internal corners, you must mitre cut the dado at a 45-degree angle so it meets neatly.
For external corners, order additional length of dado and cut mitre joints outward.
➡️ Best Practice: Order dado separately rather than as part of your main kit, especially for multiple walls. This allows extra flexibility and helps ensure you have enough for corner cuts.
The cutting was accurate; and it arrived as promised.
Robert Russell-Pavier,
5 minutes ago
Verified
Accurate cuts and quick delivery
Accurate cuts and quick delivery, thanks!
Brian turner,
6 minutes ago
Verified
Incorrectly cut item was replaced promptly.
The order arrived quickly but had been cut to the wrong size. When informed, a replacement correctly sized arrived a couple of days later.
Mr Perchard,
13 minutes ago
Verified
Easy ordering process
Easy ordering process, good pricing and a fast turnaround. Used this company a couple of times now and they're great.
Paul G,
37 minutes ago
Verified
Great product and service
Very swift delivery and cut exactly as ordered. Well packaged and protected. Then extremely easy to fit with adhesive supplied. I sealed edges with clear sealant which was not supplied. Looks great and just what was needed behind the sink. Great product and service
Anthony Moore,
52 minutes ago
Verified
Very easy to use website
Very easy to use website. Good prices. Only one star short because no instructions came with the goods.
john reeve,
1 hour ago
Verified
Acrylic sheets cut to exact size
The well priced acrylic sheets were cut to the exact sizes specified and they were extremely well packaged. I didn't pay the extra cost of having the edges smoothed and this proved to be the correct decision as they were smooth enough to handle with bare hands.
PDsomerset,
1 hour ago
Verified
Fast and good quality
Great product - ordered some shelves. Super fast too, and a good price. Couldn’t be better.
Mr Duncan Bushell,
1 hour ago
Verified
Easy to order. Good product
Easy to order, quick delivery. Good product. we were going to secure it with a few more screws the next day but unfortunately we had very high unexpected winds and we lost a pane across the patio which we’ll have to buy again unfortunately, but that was our fault and nothing to do with the product.
Mandy Pine,
3 hours ago
Verified
Shaker panelling
Quick delivery. Packaged well. Helpful visual tool. good quality materials (cut to spec) and instructions for installation. Would use this company again and recommend to others.
S. A,
3 hours ago
Verified
Simple ordering process for cut circle…
Simple ordering process for cut circle of ply, delivered quickly, will take the hard work out of refurbishing garden table, thank you very much
Liz Mannering,
3 hours ago
Verified
Perfect fit
Perfect fit, packaged well, delivered on time too.
Would recommend.
Sharon from Essex ,
4 hours ago
Verified
Great Product
Quick service, easy to use website for sizes, great product
Carol Allen Mills,
4 hours ago
Verified
Easy to order great service
Easy to order great service
Christopher Willett,
5 hours ago
Verified
This order arrived in good time and…
This order arrived in good time and well packed .all well. thanks
Paul,
6 hours ago
Verified
Cut pieces were exactly to spec.
Cut pieces were exactly to spec.
Martyn,
8 hours ago
Verified
Great find
Great website, excellent service. Shelves arrived quickly and well packaged. Would definitely use this company again.
Judith Powers,
8 hours ago
Verified
Great service
Choice of wood and finishes available just perfect. Order process straightforward and delivery as specified. Really can't fault it.
Alison ,
9 hours ago
Verified
Top 5 *****
I recently purchased an acrylic kitchen splashback from Cut My, and I’m very pleased with the whole experience.
The ordering process was straightforward, the product arrived well packaged, and the quality of the acrylic splashback is excellent. It looks fantastic in my kitchen and was easy to install. The finish is clean and modern, exactly what I was hoping for.
Delivery was also prompt, and the item arrived in perfect condition with protective covering to prevent scratches.
Overall, I’m really happy with the purchase and would definitely recommend Cut My to anyone looking for custom acrylic splashbacks or similar products.
KEM,
16 hours ago
Verified
Straightforward Perspex ordering
Goods arrived promptly And undamaged in robust packaging. Sheets cut accurately to submitted size.
D M goldie,
21 hours ago
Subscribe to our email newsletter
Sign up here for our occasional email newsletter with new products, design ideas and discounts across our huge and growing range of products. (You can unsubscribe at any time of course.)