
Cutting acrylic sheets can seem intimidating if you've never worked with this versatile material before. Whether you're creating a custom display case, crafting decorative items, or installing a window replacement, knowing the best way to cut acrylic ensures clean edges and prevents costly mistakes. This guide will walk you through various methods for cutting acrylic sheets at home, helping you choose the right technique for your specific project.
Understanding Acrylic Before You Cut
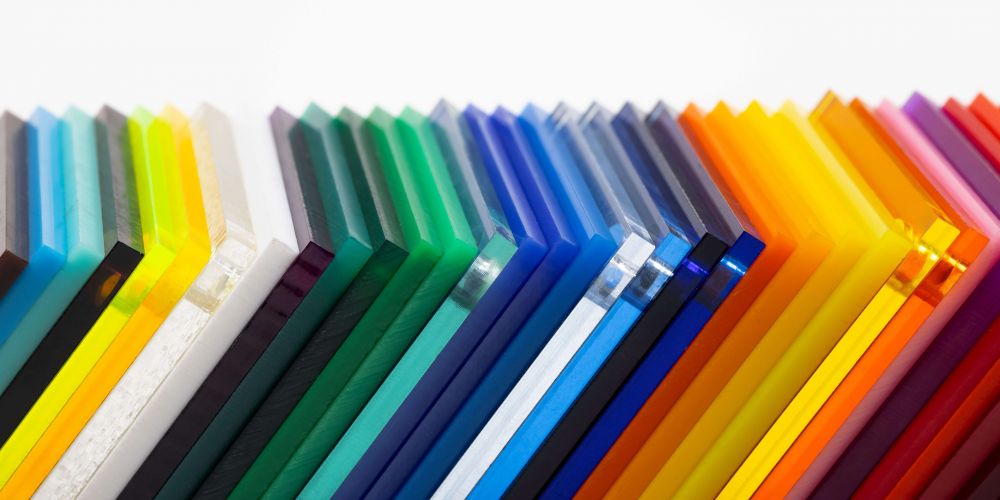
Acrylic (sometimes called by the brand name Perspex or Plexiglass) is a shatter-resistant plastic that can be brittle when cut incorrectly. Unlike glass, acrylic melts at high temperatures, which means certain cutting methods can cause melting or create rough edges. Temperature is crucial - working with acrylic in very cold conditions makes it more prone to cracking.
Most acrylic sheets come with a protective film on both sides. Always leave this film on during cutting to protect the surface from scratches.
Essential Tools for Cutting Acrylic
Depending on your chosen method, you'll need some combination of these tools:
-
Fine-toothed saw blade (60-80 teeth) or plastic-cutting blade
-
Straight edge or metal ruler
-
Plastic scoring tool or utility knife
-
Clamps
-
Masking tape
-
Safety gear (goggles, gloves, dust mask)
-
Sandpaper (various grits from 220 to 600)
-
Specialised acrylic polishing compound
Always prioritise safety when cutting acrylic. The material can chip unexpectedly, so eye protection is essential.
The Score and Snap Method: Best for Straight Cuts
For thin acrylic sheets (up to 3/16" or 4.5mm thick), the score and snap method is the best way to cut acrylic when you need straight lines.
Steps
- Measure and mark your cutting line on the protective film
- Secure the sheet to a flat surface with the cutting line aligned at the edge of your work table
- Place a metal ruler or straight edge along your marked line
- Using a plastic scoring tool or utility knife, score along the line 10-15 times with moderate pressure
- Position the sheet so the scored line extends just beyond the edge of your work surface
- Apply gentle but firm downward pressure on the overhanging portion to snap the sheet along the scored line
This method works well for DIYers and crafters working with thinner acrylic sheets at home.
Using a Jigsaw: Best for Curved Cuts
When cutting curves or intricate shapes, a jigsaw fitted with a fine-toothed blade specifically designed for plastics is your best option.
Steps
- Mark your cutting line on the protective film
- Apply masking tape along both sides of your cutting line to minimise chipping
- Drill a starter hole inside your cutting area if making internal cuts
- Set your jigsaw to a medium-high speed
- Apply even pressure and move slowly along your marked line
- Keep the sheet cool by occasionally pausing or using compressed air
Remember that cutting too quickly generates heat that can melt and deform the acrylic.
Table Saw Method: Best for Precision
For perfectly straight cuts on thicker acrylic sheets, a table saw with a fine-toothed blade (60-80 teeth) provides the best results.
Steps
- Mark your cutting line on the protective film
- Apply masking tape along both sides of your cutting line to minimise chipping
- Drill a starter hole inside your cutting area if making internal cuts
- Set your jigsaw to a medium-high speed
- Apply even pressure and move slowly along your marked line
- Keep the sheet cool by occasionally pausing or using compressed air
Remember that cutting too quickly generates heat that can melt and deform the acrylic.
Router Method: Best for Perfect Edges
For the cleanest possible edge finish, especially on thicker acrylic sheets, a router with a specialized acrylic bit produces professional results.
Steps
- Secure your acrylic sheet firmly to your work surface
- Use a straight-edge guide to direct your router
- Set your router to a medium-high speed
- Make multiple shallow passes rather than one deep cut
- Move the router from left to right along the cutting line
While this method requires more specialised equipment, it's the best way to cut acrylic when edge quality is paramount.
Tips to Prevent Cracking and Chipping
- Always work with room-temperature acrylic
- Keep the protective film on during cutting
- Use new, sharp blades designed for plastic
- Cut slowly to avoid heat buildup
- Support the entire sheet during cutting
- Apply masking tape along the cutting lines
- Allow at least 1/8" margin from the edge of the sheet
FAQ: Common Questions About Cutting Acrylic
Can I use a regular wood saw to cut acrylic?
While possible, regular wood saws often have teeth that are too coarse, increasing the risk of chipping. A fine-toothed blade designed for plastics is the best way to cut acrylic with a saw.
How do I cut thick acrylic sheets at home?
For thick acrylic (over 1/4" or 6mm), a table saw or router is recommended. The score-and-snap method won't work effectively on thick sheets.
Is cutting Perspex the same as cutting acrylic?
Yes, Perspex is simply a brand name for acrylic sheet. The same cutting techniques apply whether you're cutting Perspex or any other brand of acrylic.
Why does my acrylic melt when cutting?
Excessive friction generates heat that melts acrylic. To prevent this, use sharp blades, cut slowly, and consider cooling the cutting area with compressed air.
Whether you're a casual DIYer or experienced crafter, knowing the best way to cut acrylic opens up countless possibilities for creative projects. By choosing the right method for your specific needs and following these guidelines, you'll achieve professional results with this versatile material.

