The store will not work correctly when cookies are disabled.
Cookie Preferences
We use cookies and similar technologies to enhance your experience and ensure smooth order processing and to improve our website by analysing visitor behaviour or personalise content and show relevant offers.
Essential cookies are required for the site to function and cannot be disabled. By clicking "Accept" you agree to all cookies, including analytics and marketing. To decline non-essential cookies, click "Decline".
James Bryant is the Founder of Cut My, an online retailer providing quality materials for home improvement and DIY projects. An avid DIY enthusiast himself, James started Cut My to share his passion for building and making things.
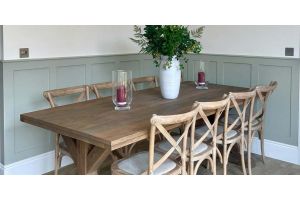
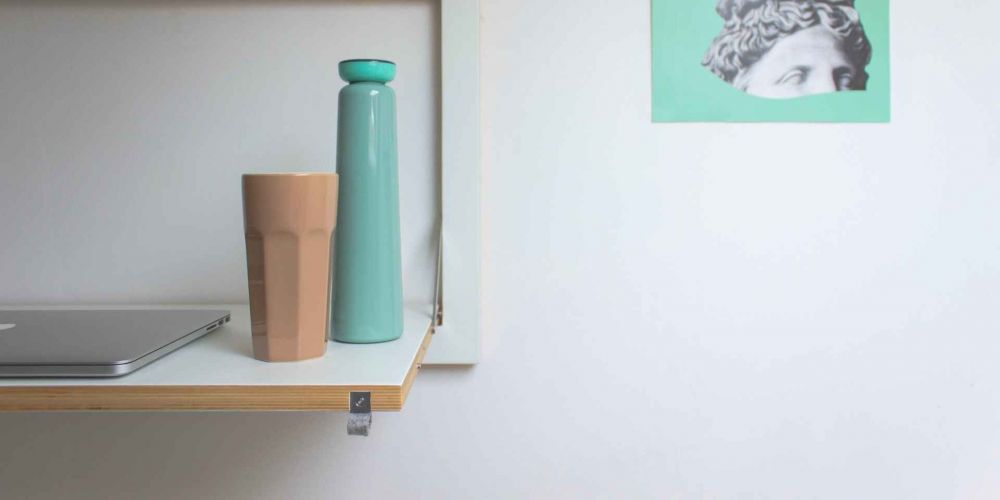
Decorating that awkward bit of space in a room is often a tricky task, especially if it is otherwise used for storage. Often the solution is a lot easier than you would expect. Shelving. Specifically, plywood shelving.
You may have seen them already in artisan coffee shops, or on social media as an aesthetic way of adding storage options, or decorative depth to a wall. However, plywood shelving is an achievable DIY task regardless of previous experience, so you can recreate that bougie look at home yourself!
With a little know-how and planning, throwing up some plywood shelving is doable in the afternoon, day or weekend, and once installed, can either be left unfinished or customised to suit your design aesthetic.
This guide will walk you through the process of installing plywood shelving by yourself (or with a friend) without the need for a builder or overwhelming power tools.
Preparation
Measure the wall and create a scale to translate this onto paper (ie. 10cm on the wall becomes 1cm when drawn on paper).
Sketch a layout of your shelving design onto paper - don’t forget to include vertical shelving, while this may not be practical for storage, it aids the eye and helps draw attention to key elements of focus points in your design.
Use masking tape to mark it out on the wall, measuring the tape equal to the scaled-up dimensions.
Once happy, write down the dimensions of all lengths of wood you require.
Ordering
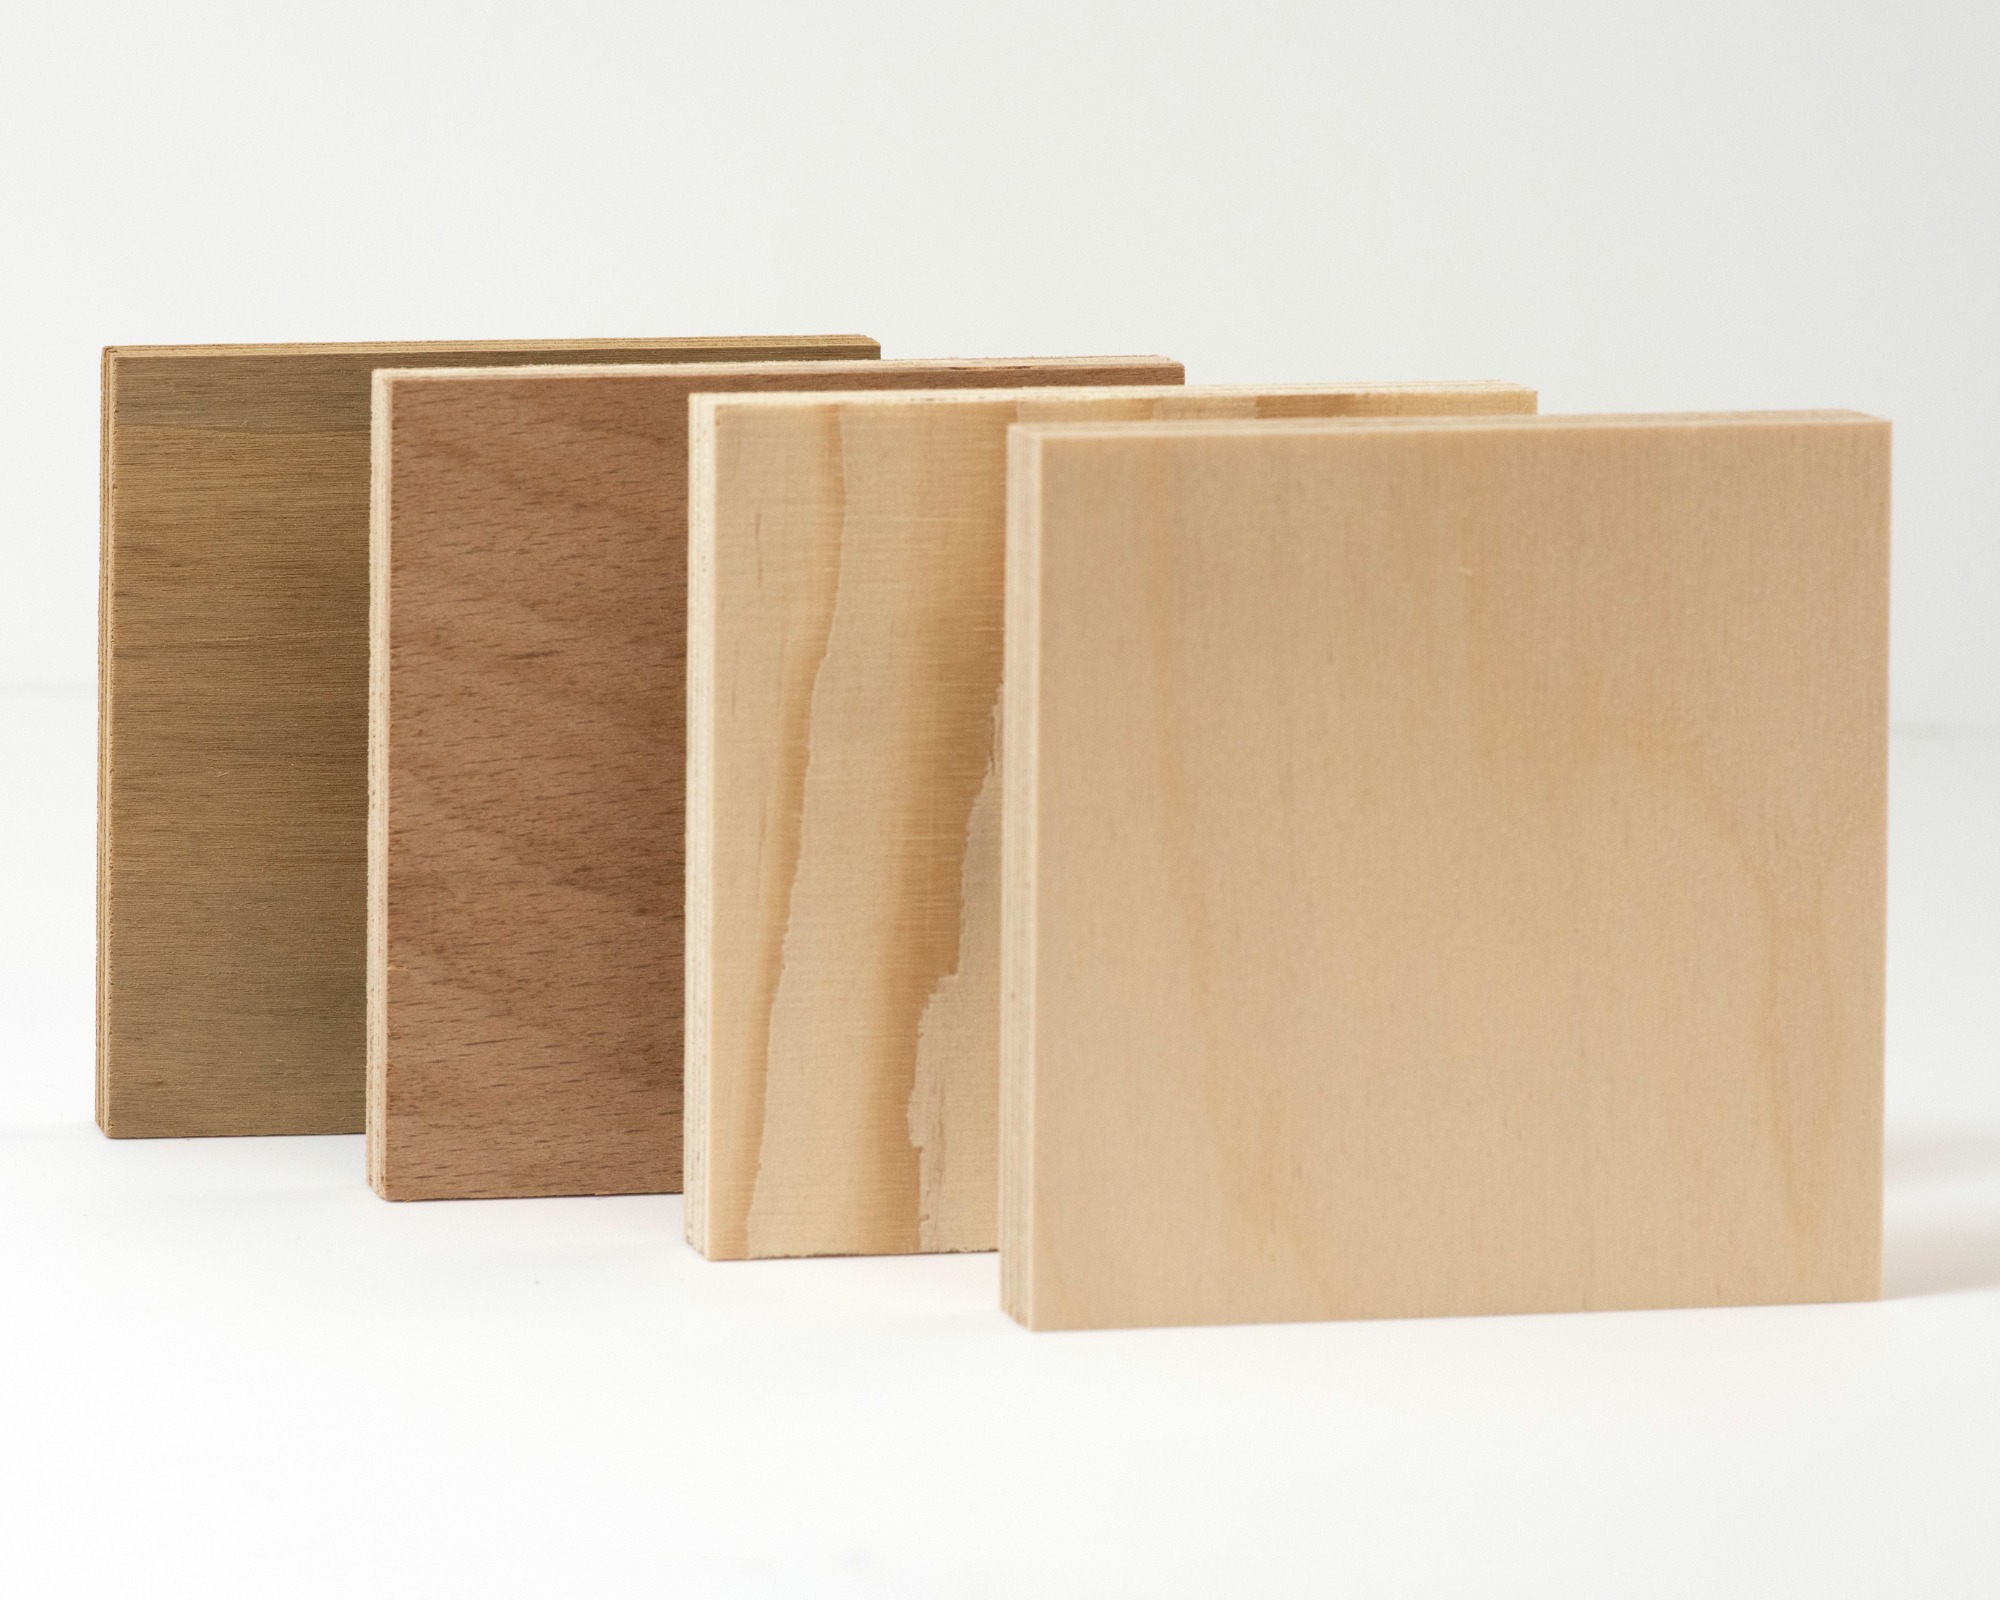
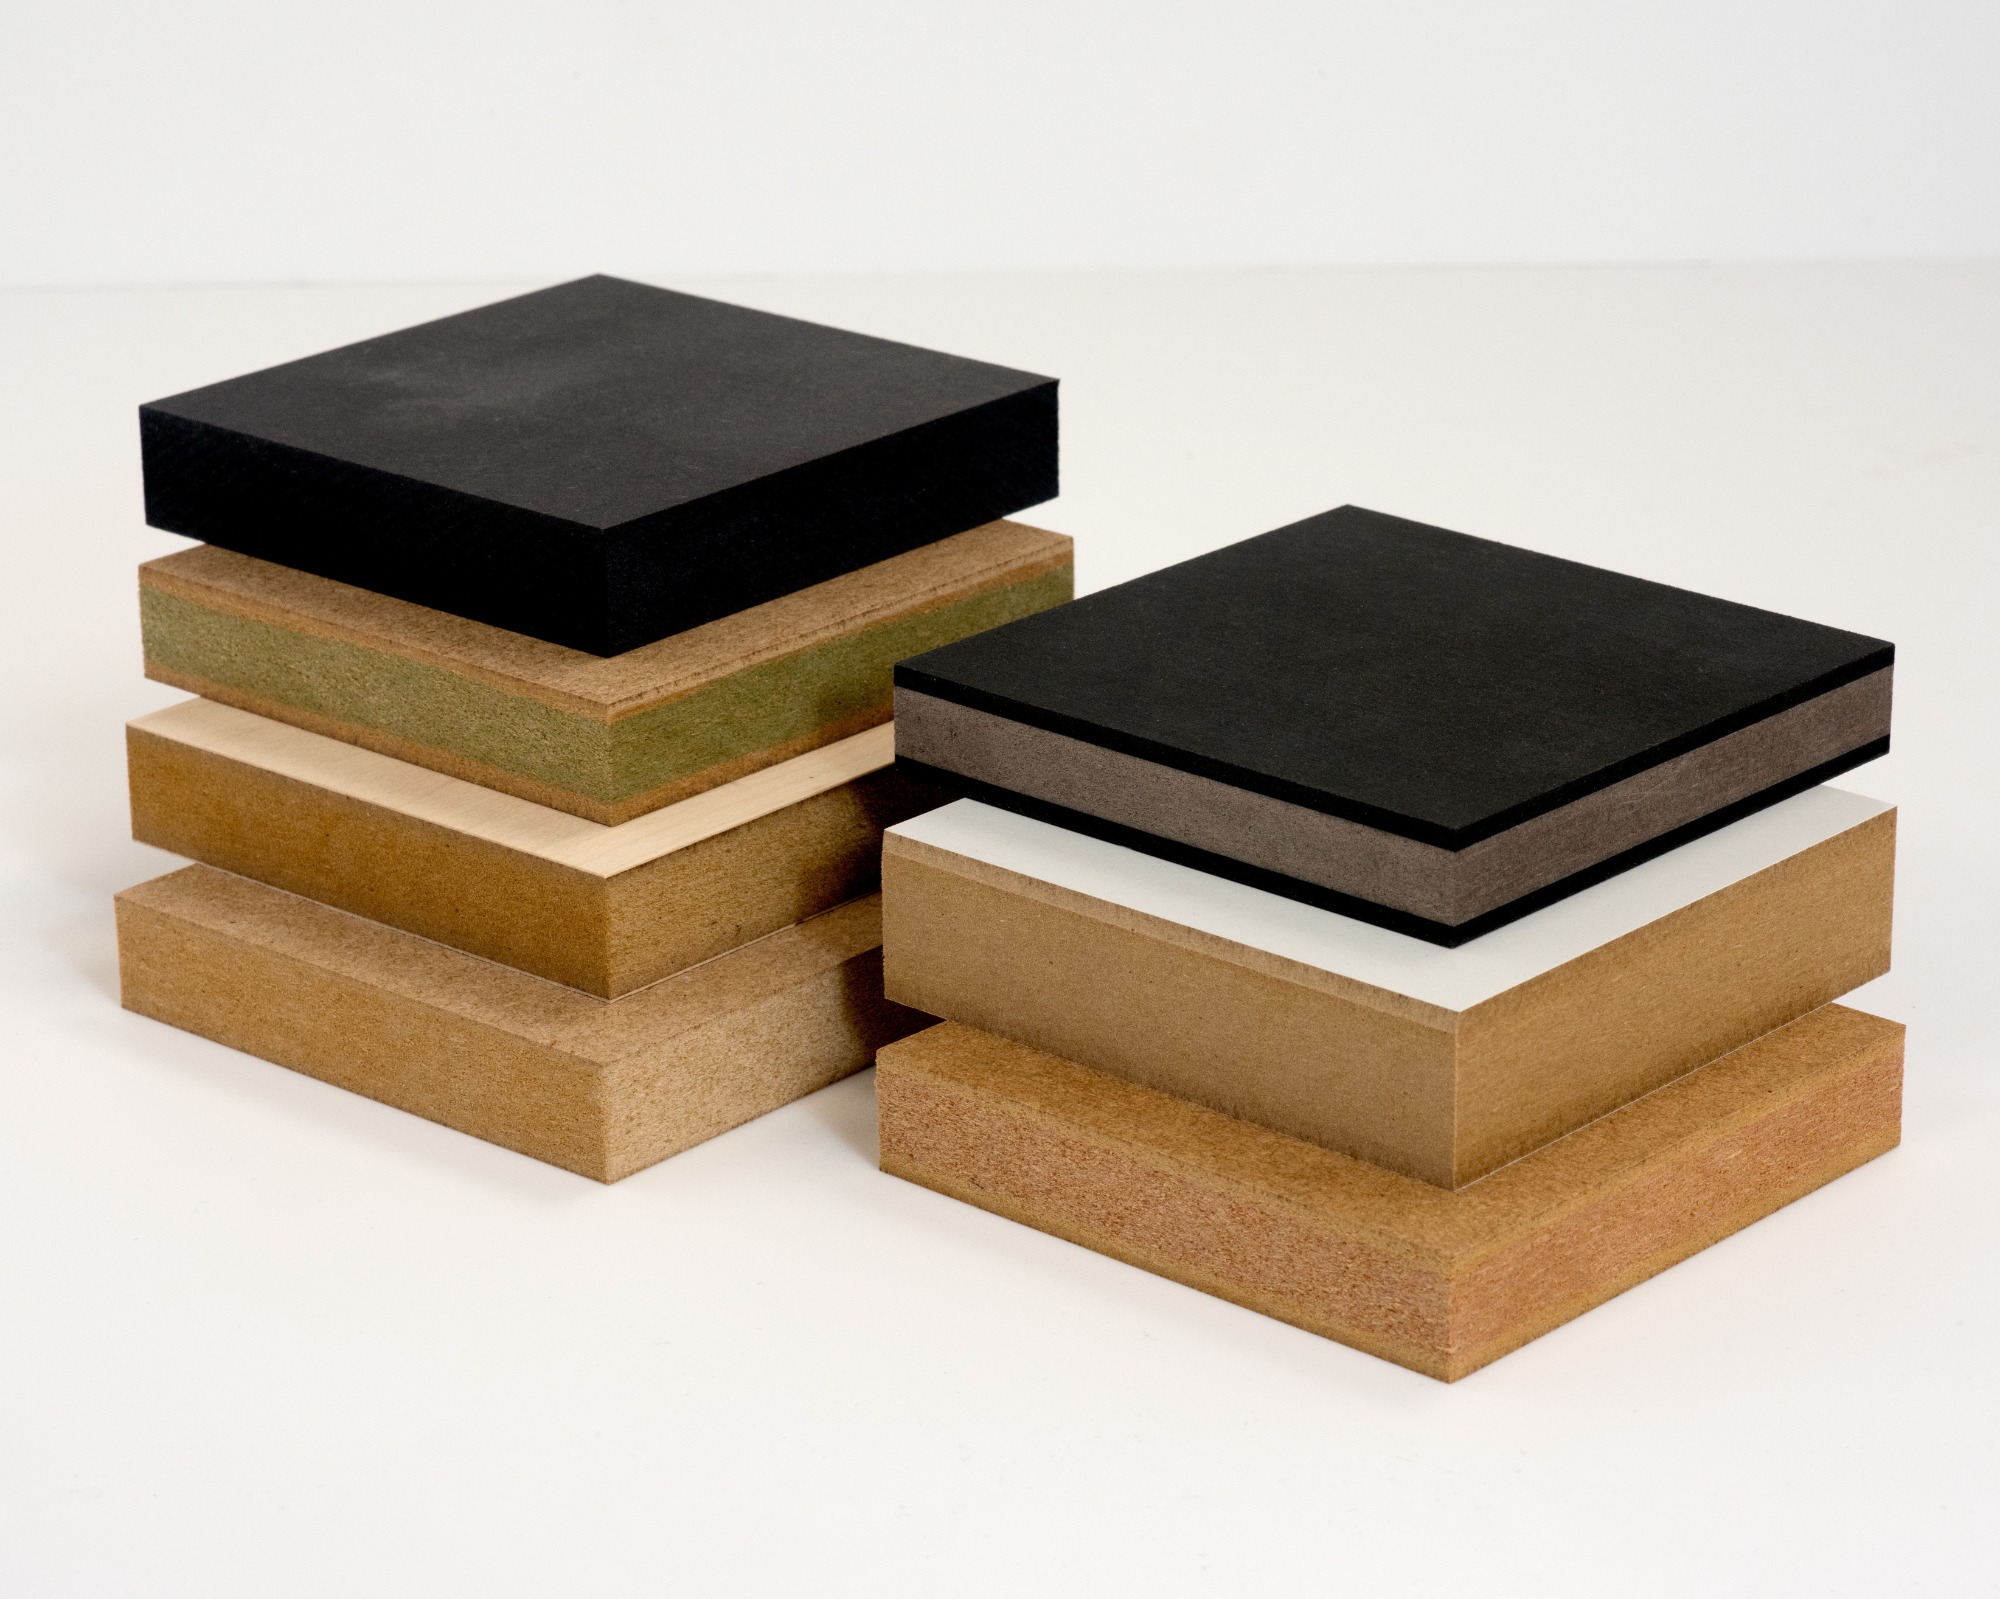
Choose your plywood from our selection: Birch; Marine; Hardwood; or Softwood - if you’re unsure what works best for you, read the Applications section at the bottom of the page
Select your required thickness of plywood - we recommend anything above 9mm to provide strength
Customise the height and width of your sheet using your measurements - height is the length of your shelf, and width is the depth away from the wall
Drill bit with a similar diameter to the screw cylinder
Spirit level
Measuring tape
Sandpaper
Wood primer (Optional)
Choice of paint colour (Optional)
Steps For Installation
Sand the edges of the plywood sheet. Begin with a rough grain, and slowly work down to a fine grit until the edges are smooth and splinter-free.
(Optional) Prime your plywood, then paint. You may need a couple of coats of primer and paint before they are ready to install.
Layout the plywood panels on the floor and mark where the brackets need to be positioned on the panels with a pencil - if you wish not to use brackets, check out our guide for alternative fixing options
Drill pilot holes into the panels on the bracket marks, using the drill bit appropriately sized for the screw
Screw brackets into place on the wood
Following the instructions on the wall plug packaging, install wall plugs into the wall where the screws will go
Screw screws into your wall plug, aligning the screws with the holes of the brackets to secure the shelving into place
Things To Note
Remember, when it comes to decorating less can be more! Once installed, your made-to-measure shelves will be covered with your decorations, so remember not to pack them too close together
Plywood can easily be varnished or painted to suit your aesthetic
Please be aware that once any alterations have been made to your plywood after it has been delivered to you, we are not liable for any returns. Please see our Terms and Conditions for more details.
Applications of Woods
Birch - Often chosen for their aesthetic properties, birch plywood is the common option for furniture indoors. Typically used by a specific Swedish furniture manufacturer it is a good option for those with a set plan on their room design
Marine - While marine plywood may lack in the aesthetic department, it is versatile for use in areas where moisture may exist more than normal, such as under the stairs or in a bathroom cupboard. Marine plywood is designed to withstand environments without losing structural integrity.
Hardwood - If you intend on your shelves being heavy bearing, we recommend using hardwood ply as it is greatly resistant to warping, bending or wearing. Ideal for use in sheds, garages, or as a bookshelf option.
Softwood - A rougher grade, our softwood plywood is not suitable for use where aesthetics matter as it is often quite rough to work with and is susceptible to warp or goes wavy. This makes an ideal option for using in sheds or garages where you do not intend to finish the wood.
Plywood Sheets
Browse our range of plywood sheets, custom cut to fit any bracket, wall space or alcove.
Excellent site. Responsive customer support with real people answering messages. A good experience which is why I always order from Cutmy.
Paul,
1 hour ago
Verified
Easy ordering
Easy ordering, prompt delivery and great quality product
Mrs Lisa Webster,
5 hours ago
Verified
They would got 5 stars had my order not…
They would got 5 stars had my order not taken so long to arrive
Paul Hill,
8 hours ago
Verified
Product as described and super prompt…
Product as described and super prompt delivery.
AJ,
9 hours ago
Verified
Great customer service.
Great customer service.
Anon,
11 hours ago
Verified
Quick and efficient and competitive on…
Quick and efficient and competitive on price
J fowler,
11 hours ago
Verified
Perspex sheet
The service was excellent delivery very prompt definitely buy again
Kevin Lockwood,
12 hours ago
Verified
Arrived within few days
Arrived within few days, fit perfectly, and was very pleased. Will definitely use you again in the future.
Mary Renfree,
1 day ago
Verified
5 stars if delivery company hadn't lost my order
I eould have given a 5, but I ordered and my goods were out for delivery and got lost by the delivery company. I did get a response straight away to my initial query that it was with the delivery company. When it still didn't arrive I recontacted CutMy again and this time Charlie looked into it and reprocessed my order and it came properly. Probably much quicker than going elsewhere.
Otter,
1 day ago
Verified
Great service and quick delivery
Great service and quick delivery
Julie Horan,
1 day ago
Verified
Brilliant service
Easy ordering and quick delivery. Item is just perfect, thank you
Mrs Melanie Hodgson,
1 day ago
Verified
Excellent service. …
I have nothing but praise for this company, my plywood order was to my exact measurements and it was well packaged. I thoroughly recommend their services.
Mr Shilling,
1 day ago
Verified
Prompt delivery and items cut to exact…
Prompt delivery and items cut to exact size required and great value for money.
Guest,
1 day ago
Verified
Accurate cutting material supplied…
Accurate cutting material supplied arrives well packaged and in a decent condition and in a reasonable delivery time
Nicholas,
1 day ago
Verified
Excellent company to deal with.
Website is easy to manoeuvre, provides good instructions and goods are cut and delivered swiftly plus great communication from delivery company. Quality of the oak veneered mdf is first class, perfect for the wall mounted headboard I am using it for and worked out as a third of the price I would have needed to pay for an equivalent ‘off the shelf item.
sheila murphy,
1 day ago
Verified
Good quick service.Thank you.
Good quick service.Thank you.
Steven Hadfield,
1 day ago
Verified
The acrylic panel fitted perfectly
The acrylic panel fitted perfectly. Thank you very much.
Susan,
2 days ago
Verified
Easy to place order
Easy to place order
Sara,
2 days ago
Verified
The wood was packed for delivery to a…
The wood was packed for delivery to a high standard. It was better than my bathroom units. Thank you for your high standards
Jonathan,
2 days ago
Verified
I needed an additional shelf in two of…
I needed an additional shelf in two of my kitchen cupboards and this company provided just that. Perfectly cut and finished.
London customer,
2 days ago
Subscribe to our email newsletter
Sign up here for our occasional email newsletter with new products, design ideas and discounts across our huge and growing range of products. (You can unsubscribe at any time of course.)